|
How do I track my HighLevel sales in ClickMagick?
Here’s how to set up tracking with HighLevel …
Step 1 – Add the Click Tracking Code to your Landing Page
If you haven’t already, install your Click Tracking Code on any landing page(s) you’re currently sending traffic to.
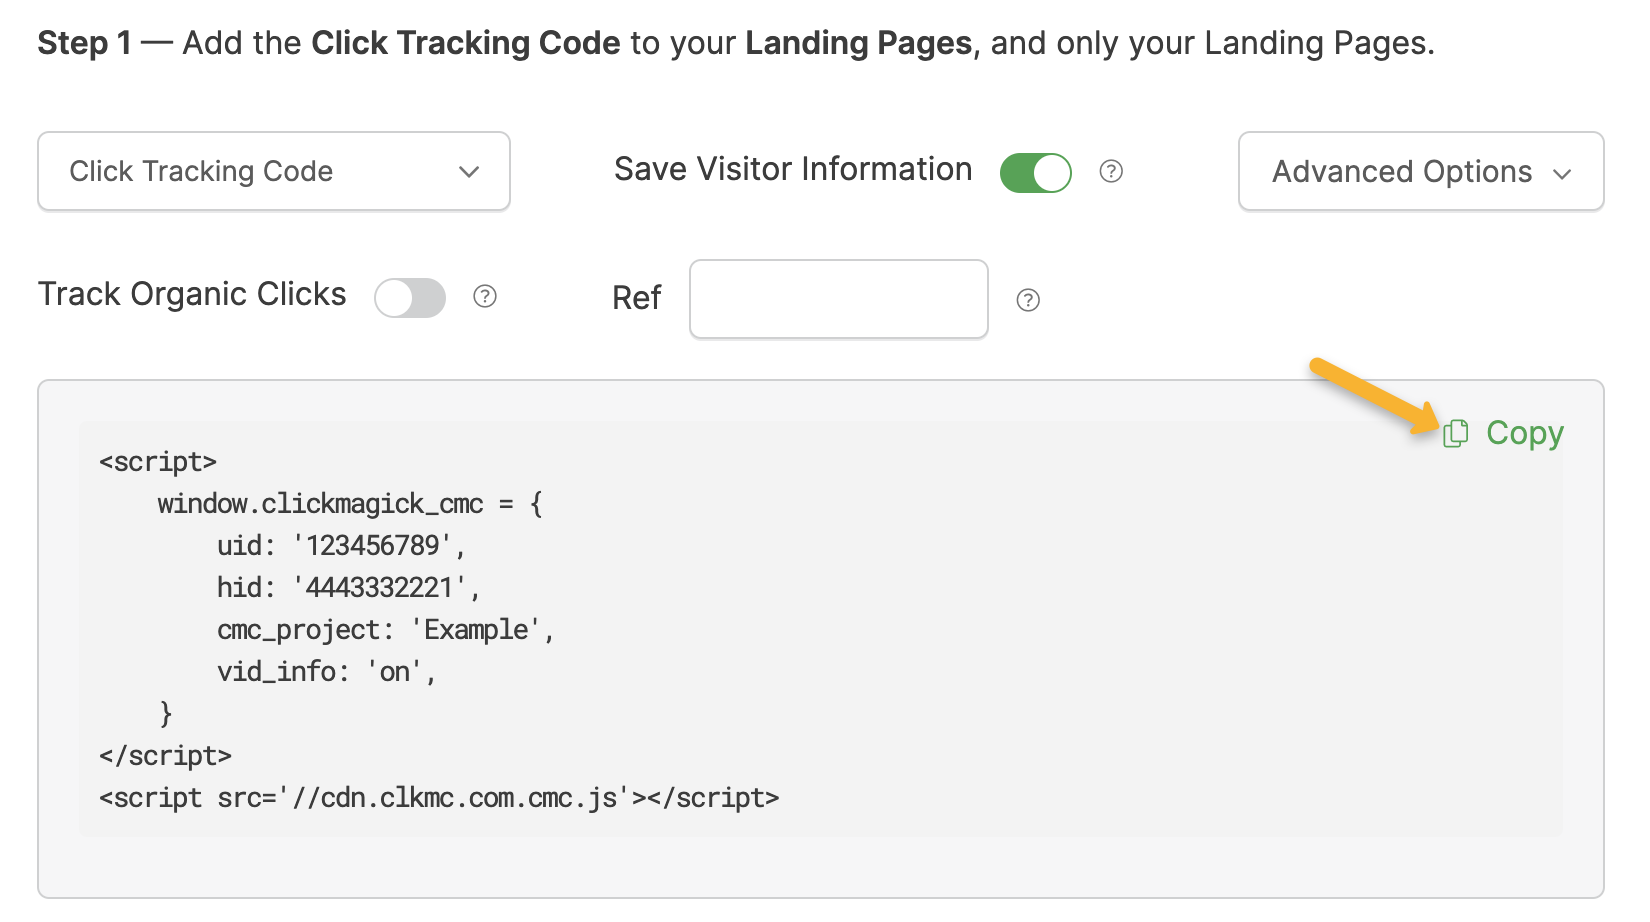
In ClickMagick, head over to Campaigns > Tools > Website Code Tool and choose “Website Code Wizard”. Copy the code shown in the first step.
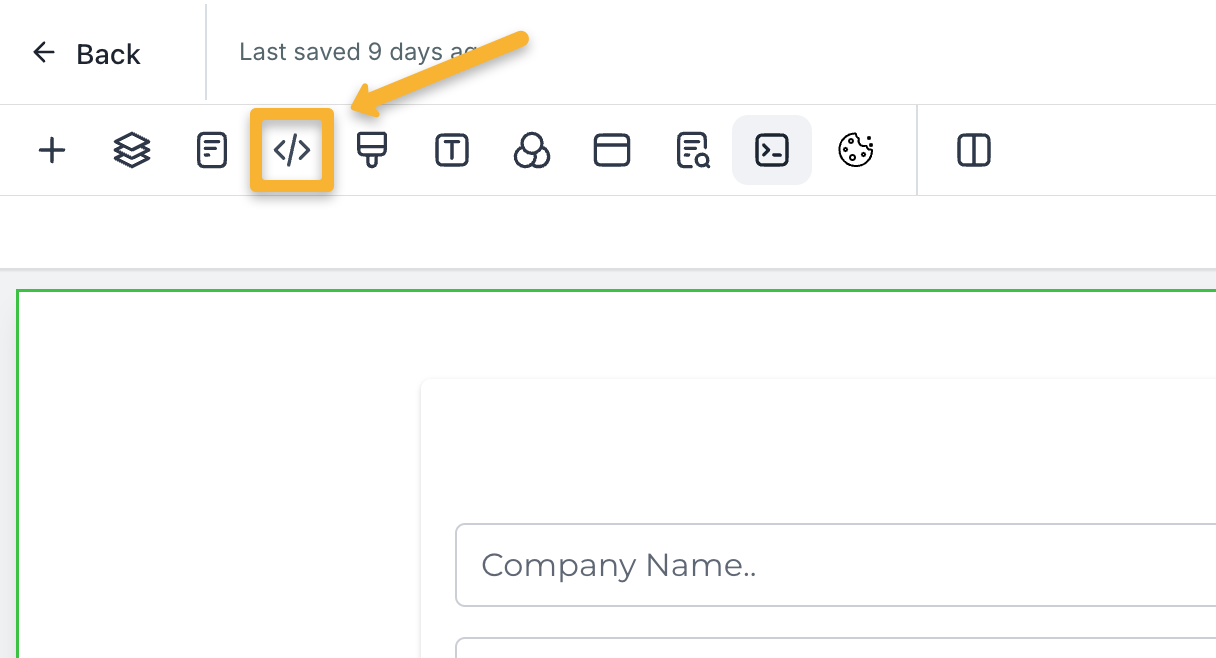
In HighLevel, edit the landing page you’re using, then click on the “Tracking Code” button.
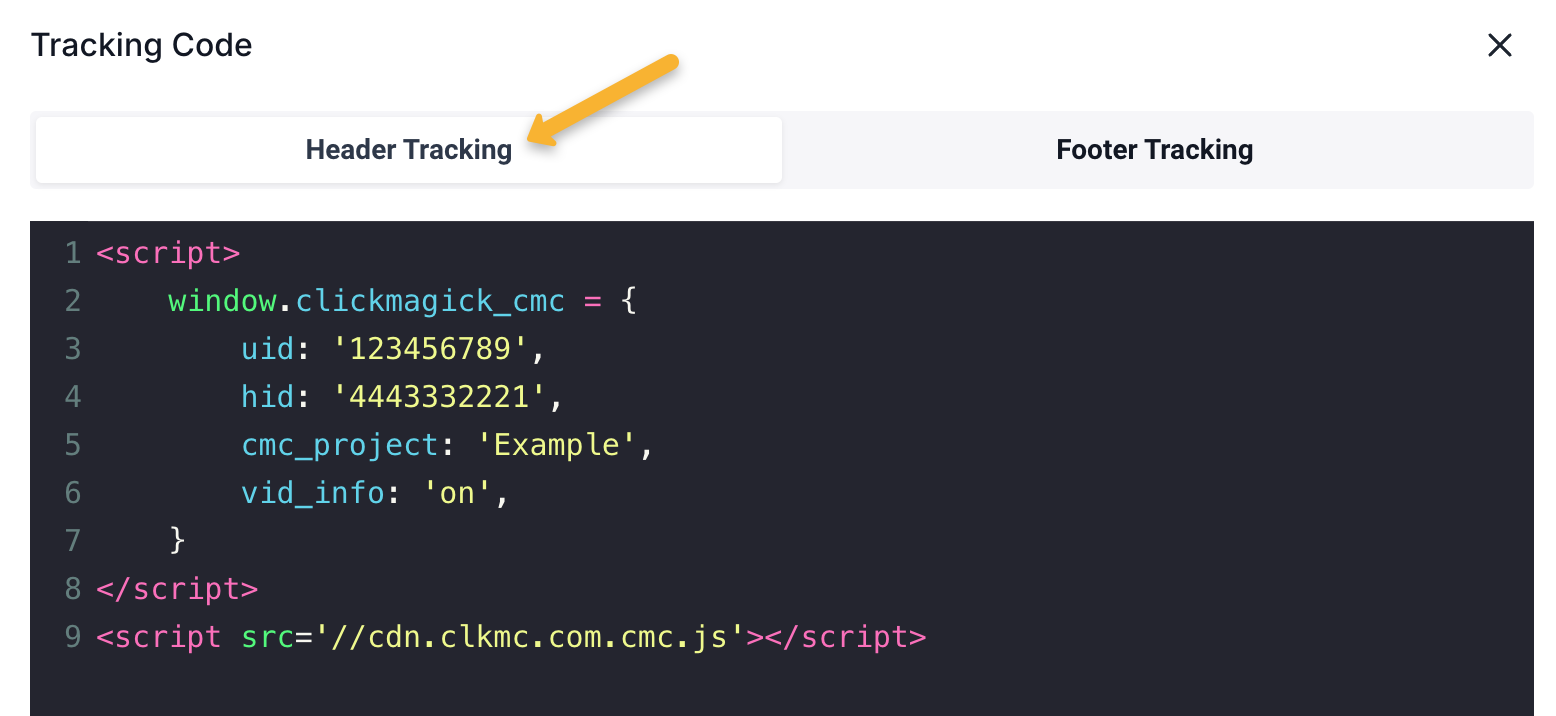
Paste the tracking code into the “Header Tracking Code” section and hit “Save”.
Step 2 – Add your Checkout Tracking Code
If you haven’t already, add the following code to your checkout page. You can do that following the same steps you took in Step 1.
<script>

    window.clickmagick_cmc = {

        uid: '[USERID]',

        hid: '[HID]',

        cmc_goal: 'e',

        cmc_ref: 'checkout',

        vid_info: 'on',

    }

</script>

<script src='//cdn.clkmc.com/cmc.js'></script>
This will track people who reach your checkout page as an Engagement in ClickMagick. It also collects their email address and other personal information to add to their Visitor Profile.
Step 3 – Set up the HighLevel Integration for Sales Tracking
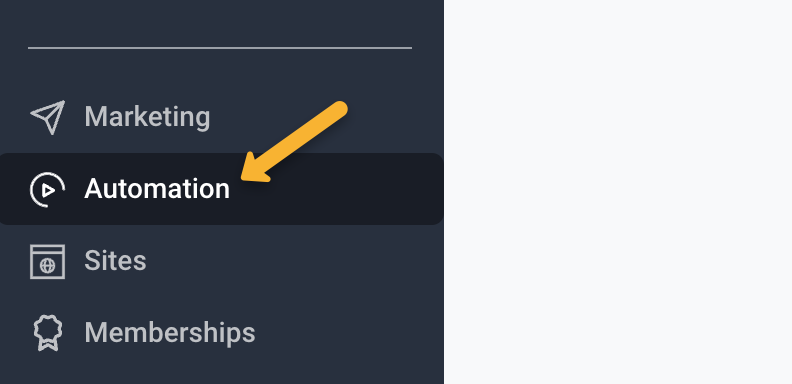
In HighLevel, go to “Automation”.
Select “+ Create Workflow”, then “Start from Scratch”.
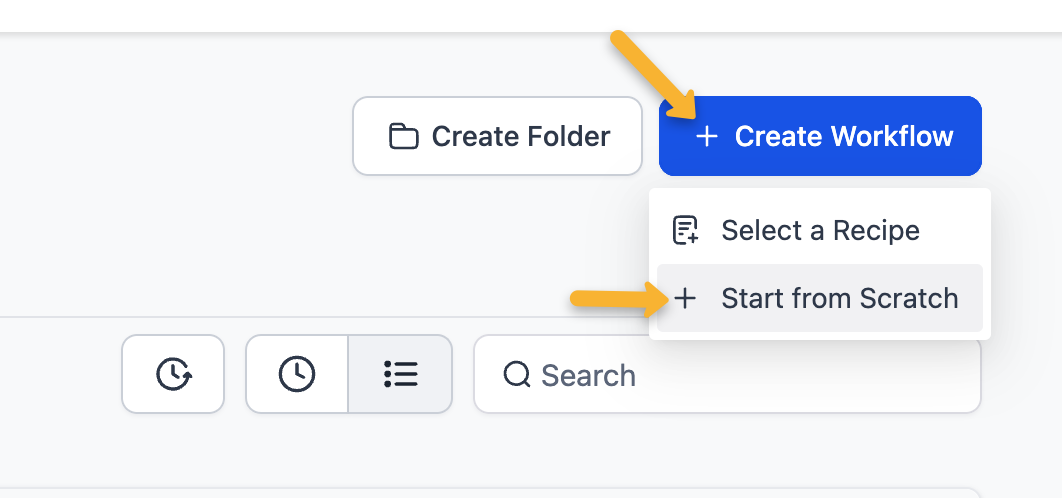
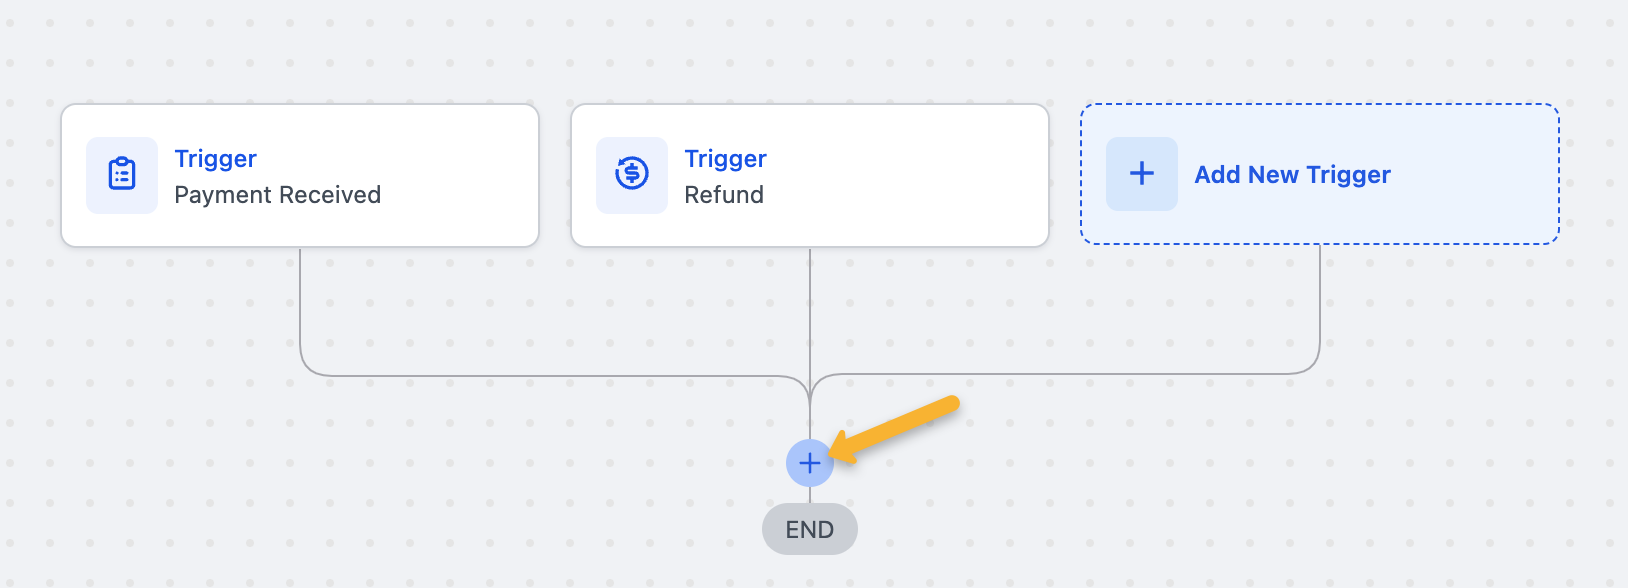
Click on “Add New Trigger”.
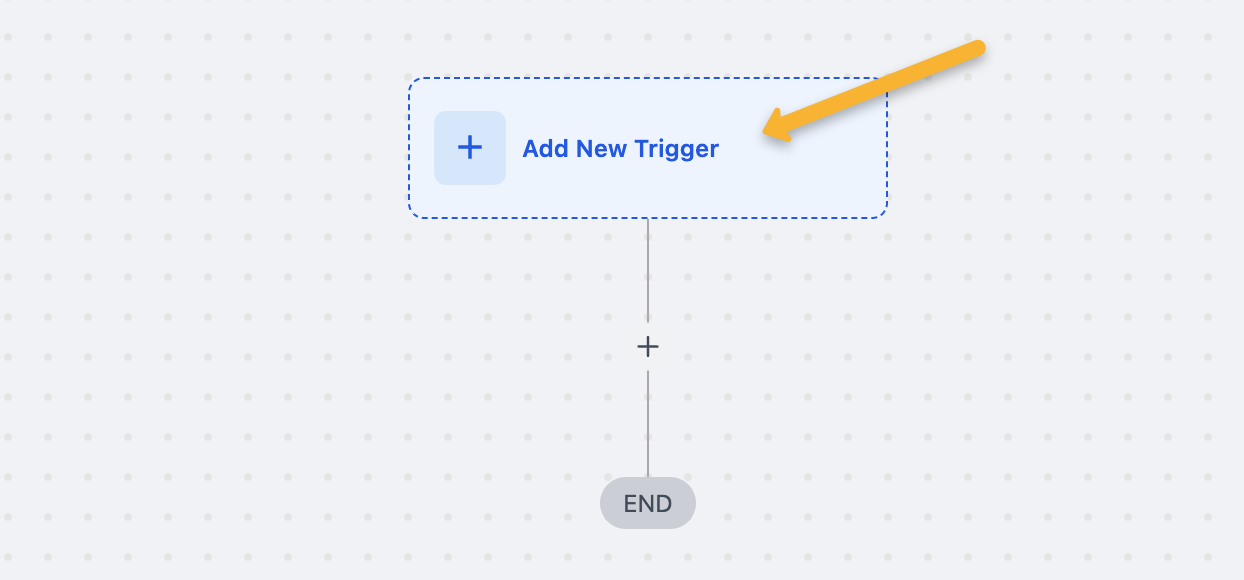
Search for “payment”. Click on “Payment Received”, then click on “Save Trigger”.
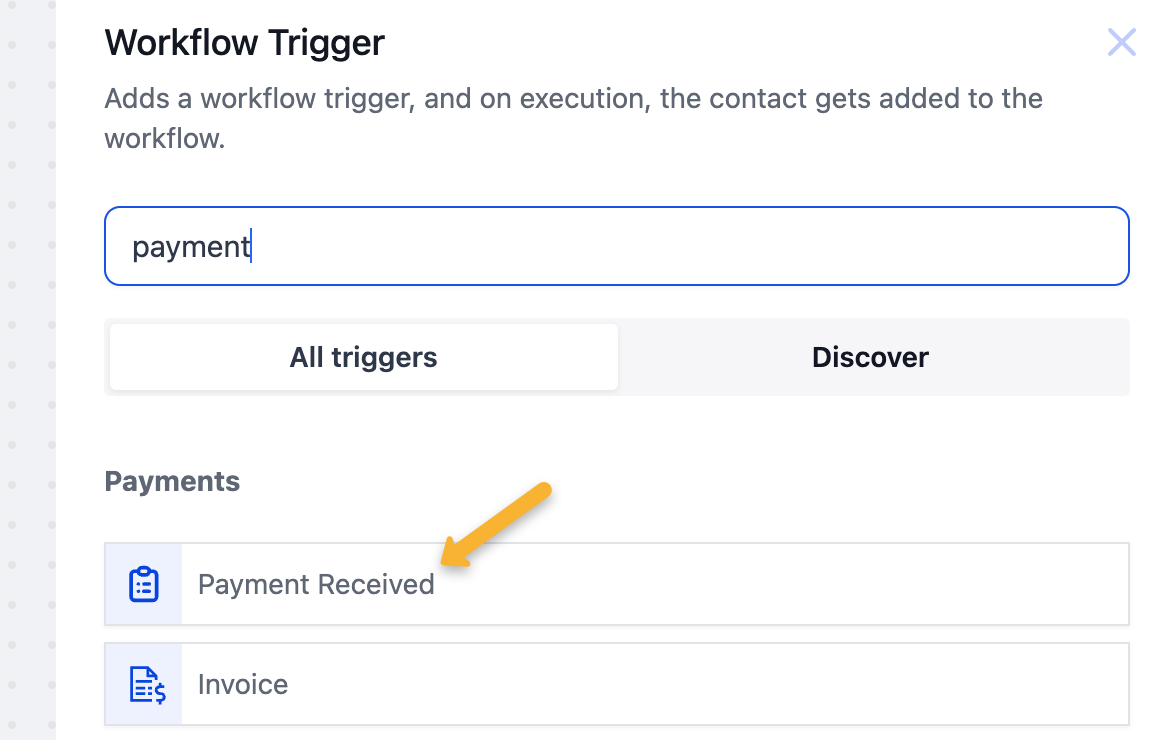
Click on “Add New Trigger” again, then search for “refund”. Click on “Refund”, then “Save Trigger”.
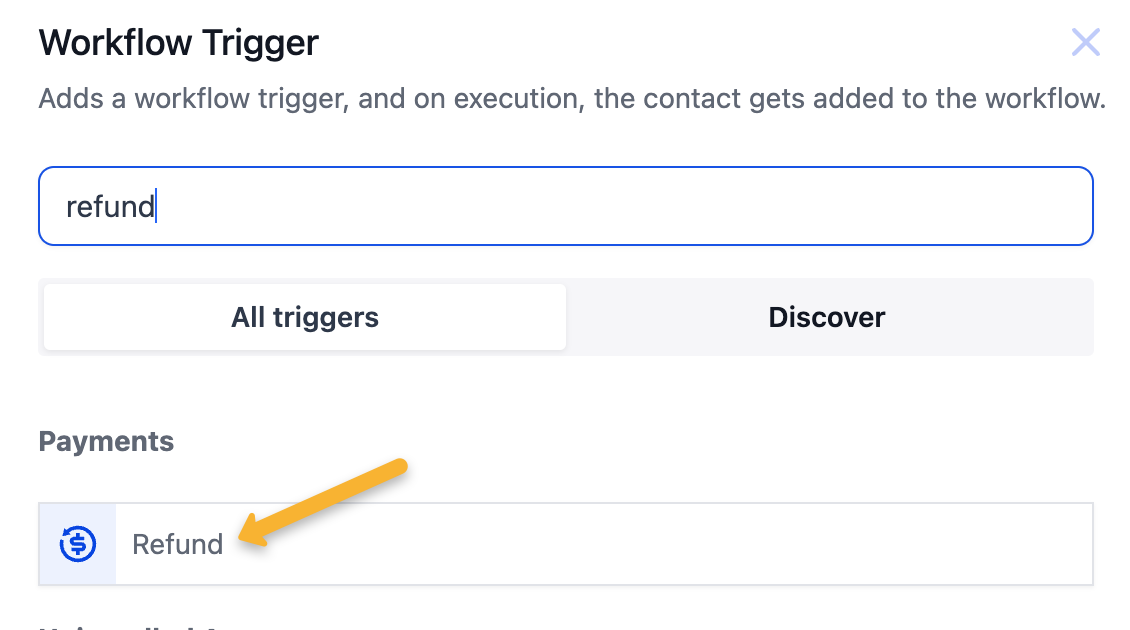
Click on the “+” icon next to “END”.
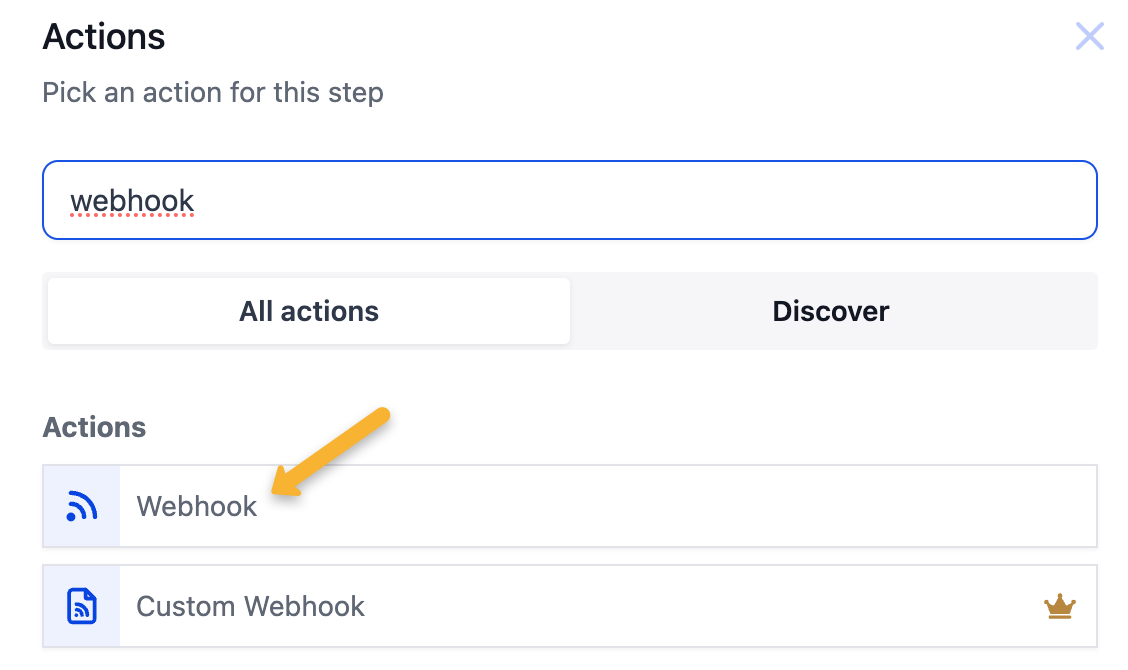
Search for “webhook” and click on the “Webhook” action.
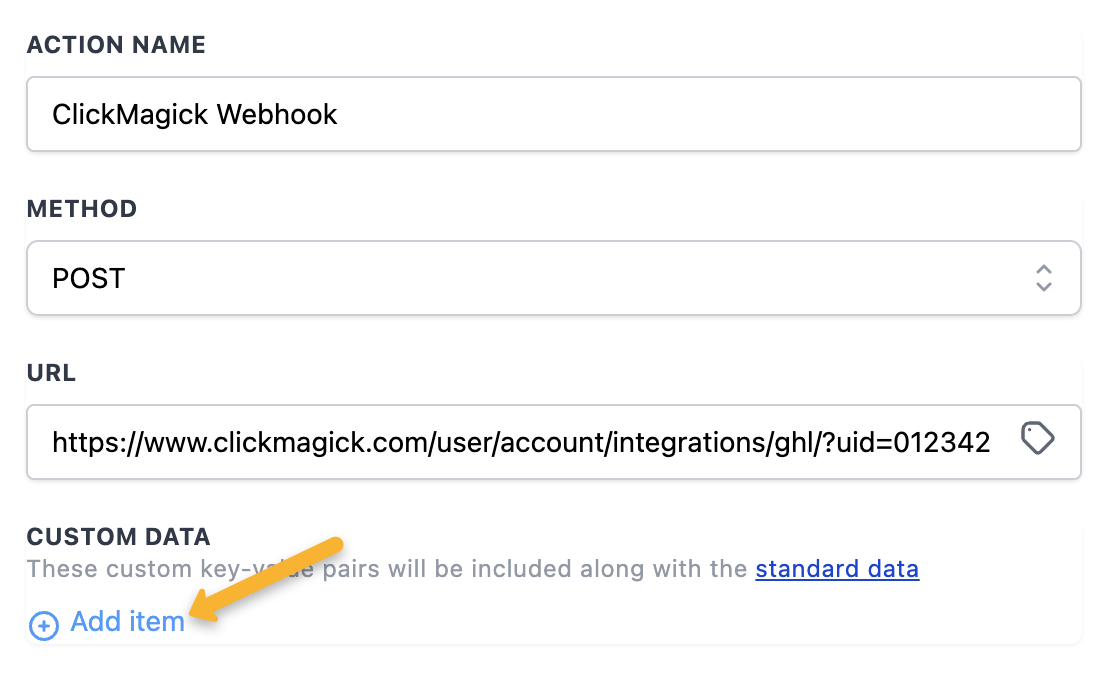
Enter the following details, but don’t hit “Save” just yet:
| Action Name: | ClickMagick Webhook |
| Method: | POST |
| URL: | https://www.clickmagick.com/user/account/integrations/ghl/?uid=[USERID] |
Next, click on the “Add item” button under “Custom Data” and add three items.
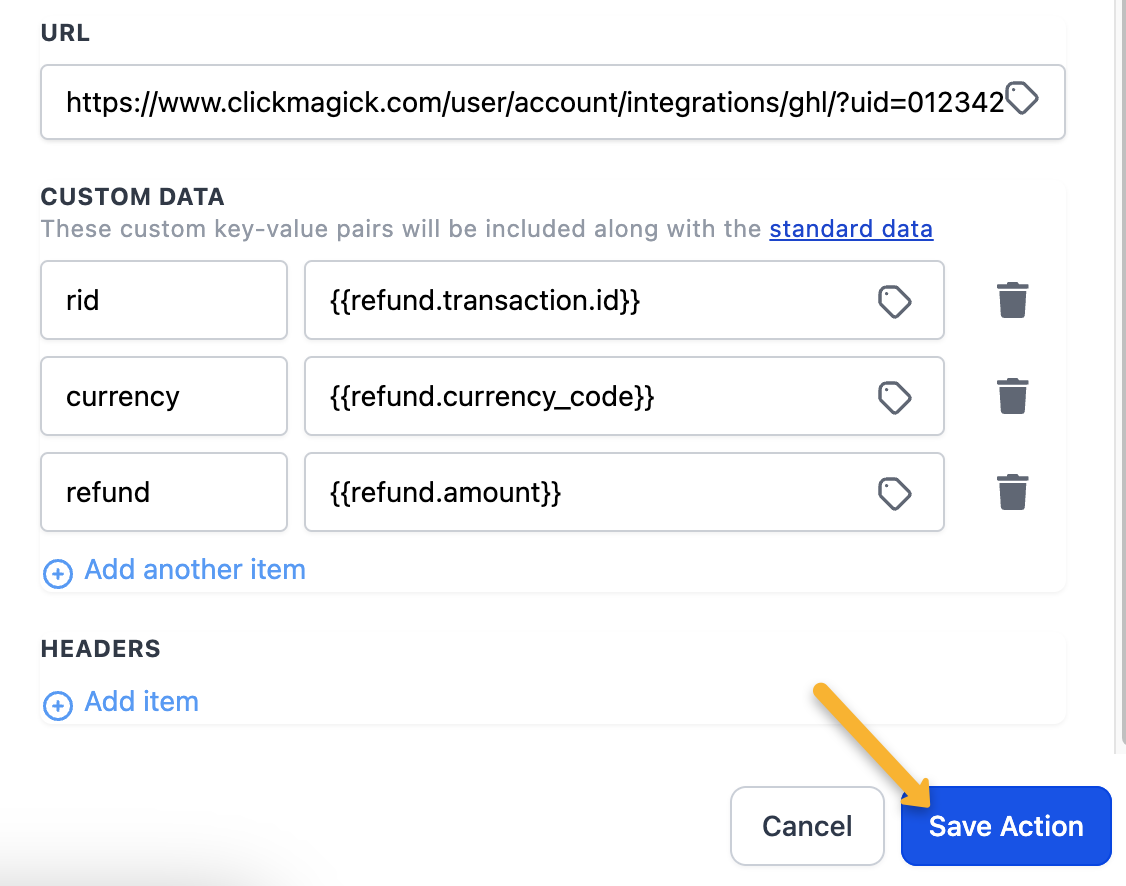
Enter the following data, you can copy and paste these values:
| key | value |
rid |
{{refund.transaction.id}} |
currency |
{{refund.currency_code}} |
refund |
{{refund.amount}} |
It should look like the screenshot below. Once you’re done, just hit “Save Action”.
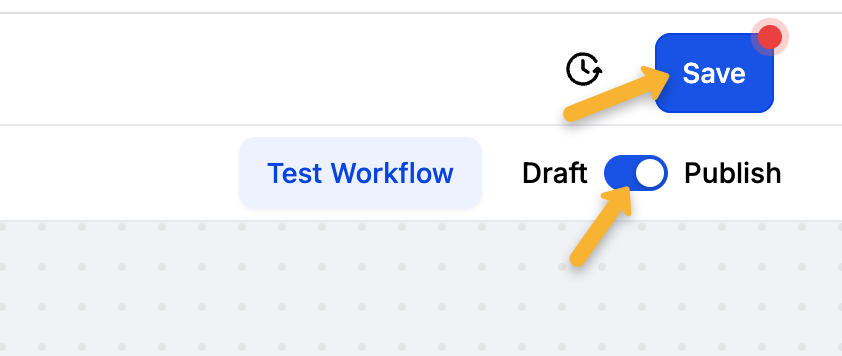
Next, just change the toggle in the top right to “Publish” and hit “Save”.
Step 4 – Remove your existing Sales Tracking Code
Once you’ve set up the integration, the final step is to remove any existing sales tracking code from your webapages.
The new integration will automatically track all of your sales, upsells and downsells, recurring revenue and refunds without the need for any sales tracking code on your pages ...
And if you have sales tracking code on your pages and use the integration at the same time things will break.
Note: We always process conversion data immediately, but please note there can be a delay between when a conversion occurs and when HighLevel sends it to ClickMagick. It’s usually just a few minutes, but we have no control over it.
.Article 944 Last updated: 11/07/2024 6:35:15 AM
https://www.clickmagick.com/kb/?article=944