|
How do I set up Audience Optimization for Microsoft Ads?
Before you get started, you'll want to make sure you've completed your Campaigns tracking setup.
There’s just a few steps to set up Audience Optimization for Microsoft, and if you’re familiar with the Microsoft Ads interface it shouldn’t take long at all ...
Step 1 - Ensure Auto-Tagging is Turned On
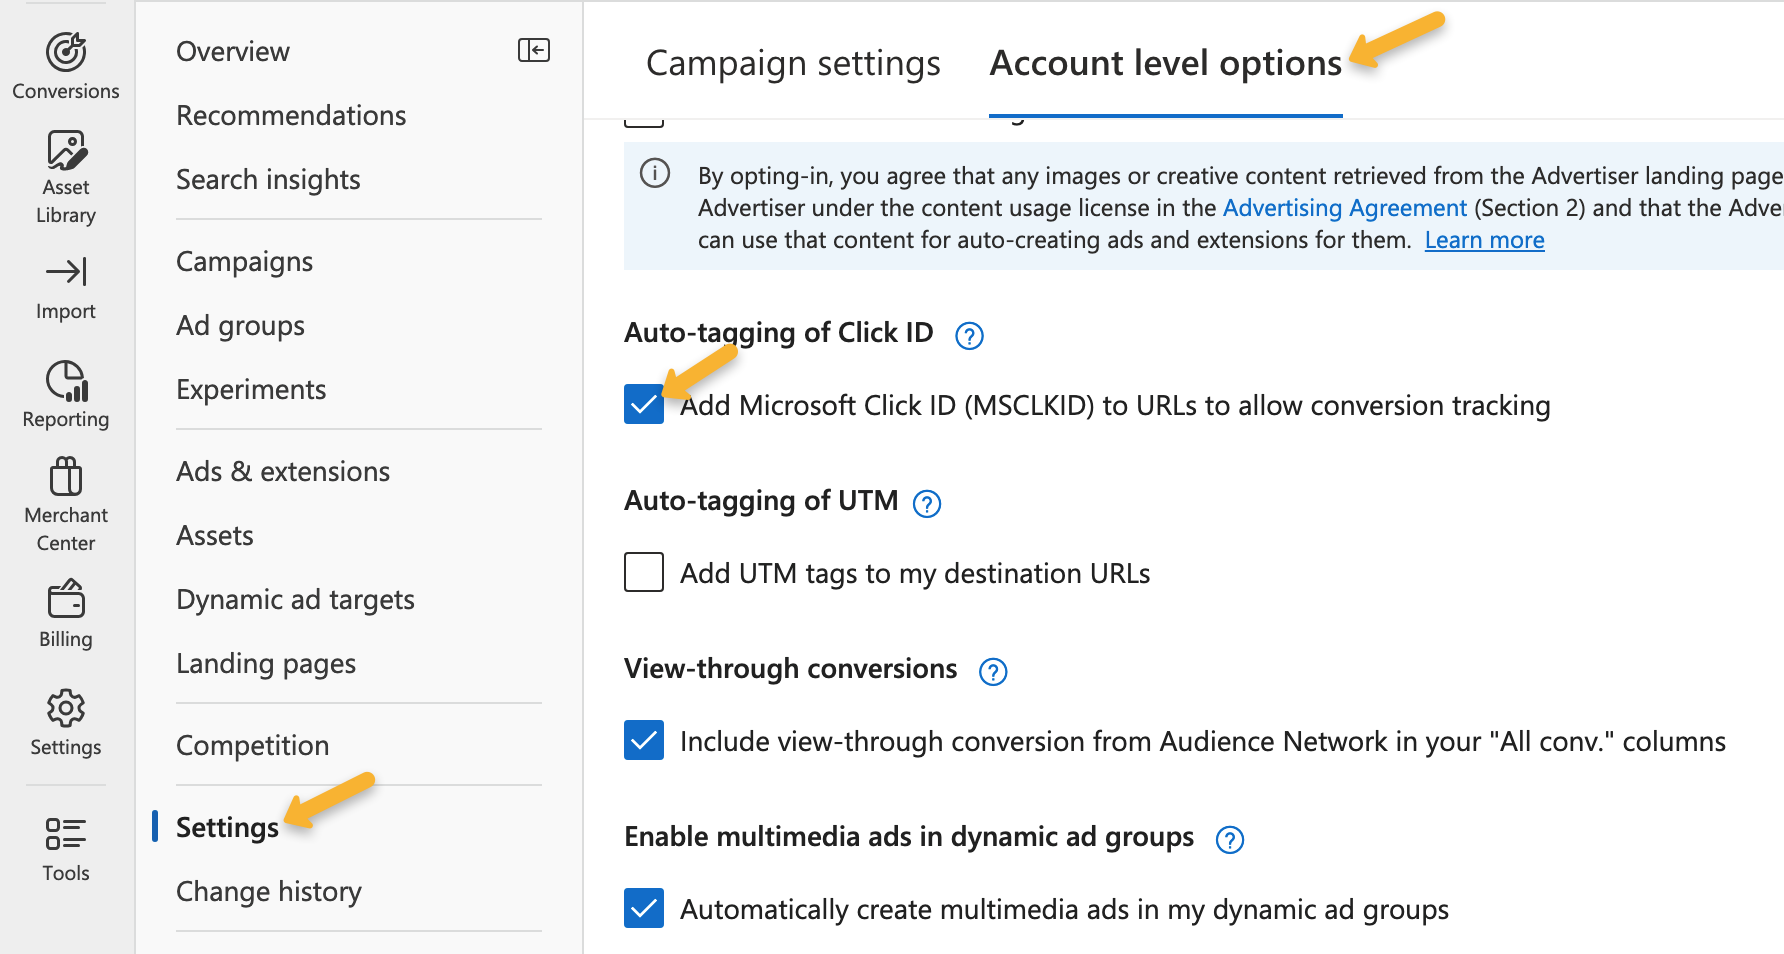
Before you get started, make sure you have auto-tagging turned on in your Microsoft Ads account by going to Campaigns > Settings > Account level options and check the “Add Microsoft Click ID (MSCLKID) to URLs” box.
.
.
Note: If you are not able to get to the Campaigns settings, you may need to switch to expert mode by going to “Tools > Switch to Expert Mode”. Then you will see the settings option on the left side for the campaigns.
Step 2 - Create a new Microsoft Ads Conversion Goal (or as many as you would like!)
While you do have the ability to use your current Conversion Goals, they are almost certainly "polluted" with bad data. We strongly recommend you create new Conversion Actions to use with ClickMagick.
Go to your Microsoft Ads dashboard and click on "Tools", and then find "Conversion Goals"

Click on the "+ Create" button to create a new conversion goal.
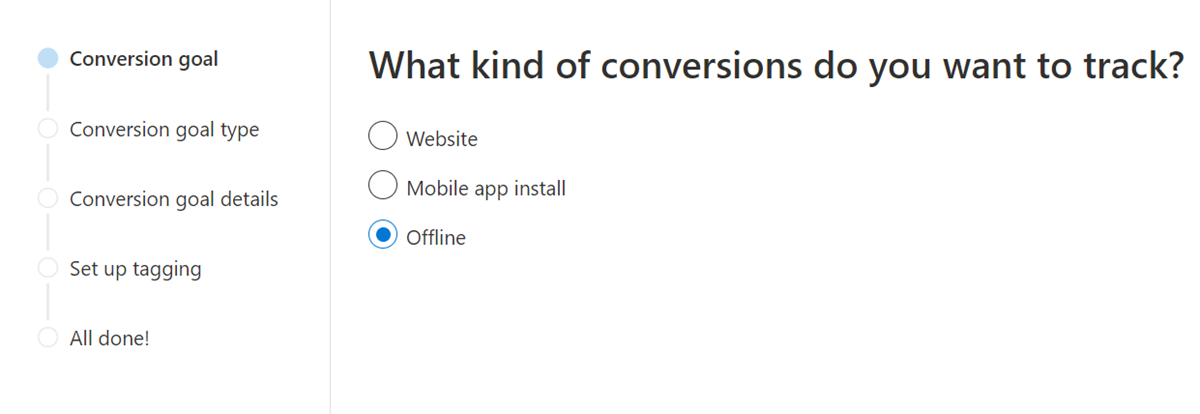
For the Type, in order for ClickMagick to be able to automatically upload the conversions, you will need to select “Offline” as the option here.
Fill out the rest of the information and make note of the name of the new Conversion Goal you created.
Note: In most cases, this conversion goal should be available to use within a couple of hours. However, Microsoft states it can take up to 24 hours for new conversion goals to be active within their system, which means it may take that long before you can use it within Audience Optimization settings.
Caution: If you select any other option besides “Offline” for conversion type, Audience Optimization will not work within ClickMagick. You will have the ability to enable the automated option for Microsoft Ads, but it will not allow you to click any of the buttons for defaults or advanced rules. If this happens to you, you will need to go back and check your Conversion Goals within your Microsoft ad account and make sure you have a conversion goal with type “Offline”.
Step 3 - Integrate your Microsoft account with ClickMagick
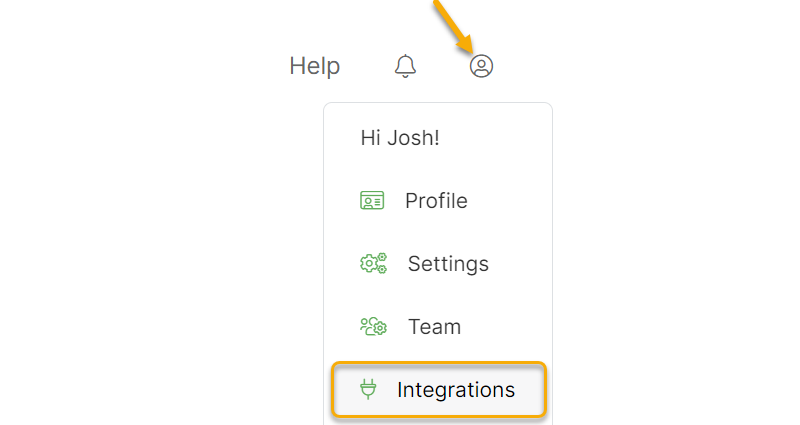
Integrate your Microsoft Ads account with ClickMagick by going to Integrations in your user account menu:
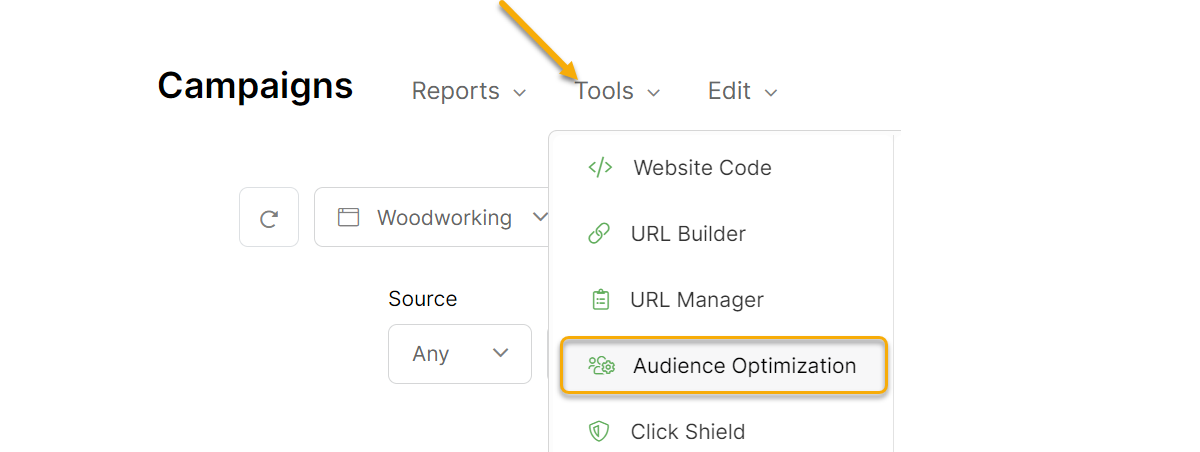
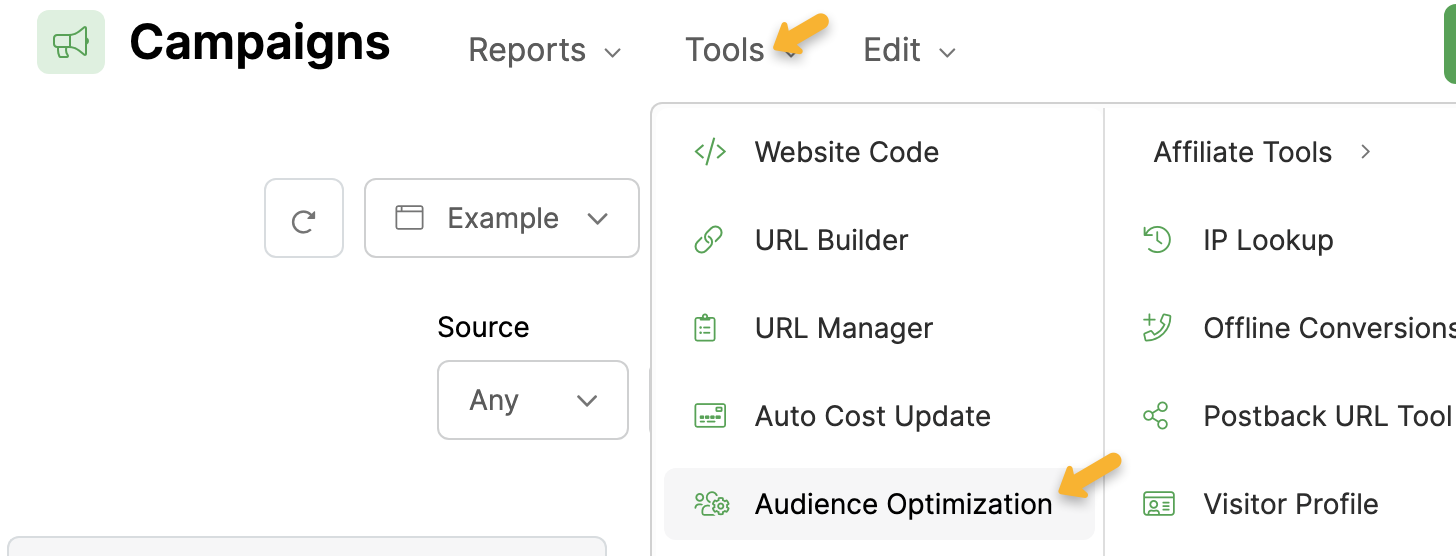
Once you’ve integrated your Microsoft Ads account into ClickMagick, you’ll then want go to Audience Optimization from the Tools menu on the Campaigns page:
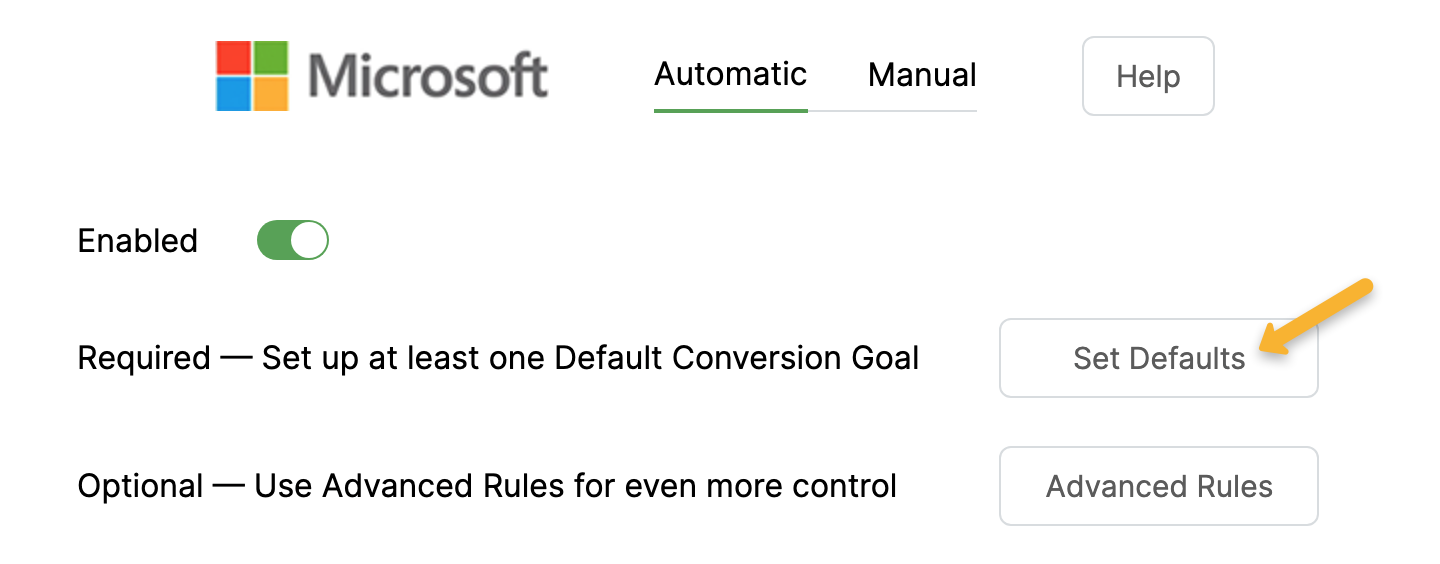
You'll be presented with two options - you'll want to select Automatic, which should be selected by default.
Toggle the Enabled switch to “Yes,” and the Default Conversion Action window will pop up automatically (if this is the first time you have configured the automatic configuration)
Note: You have to make a selection for Default Conversion Action in order to keep Audience Optimization active. See the ERRORS tab in this article for more information.
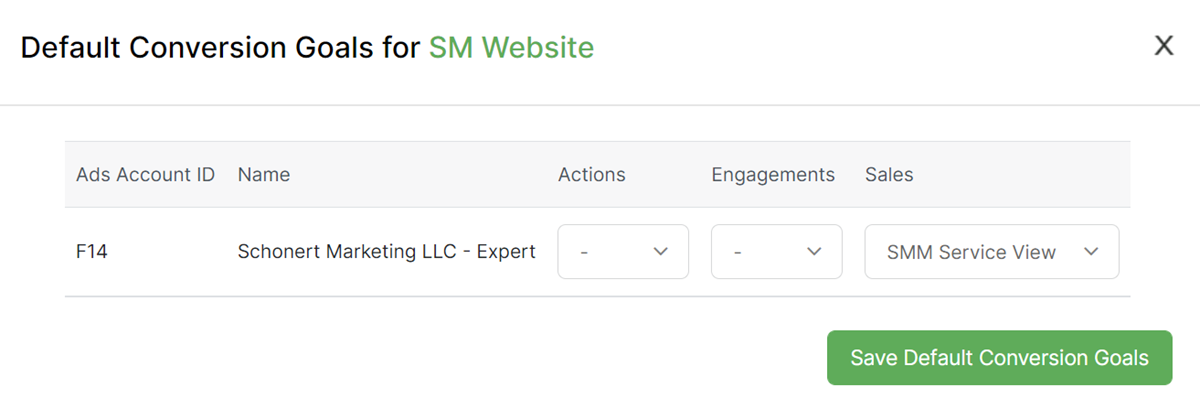
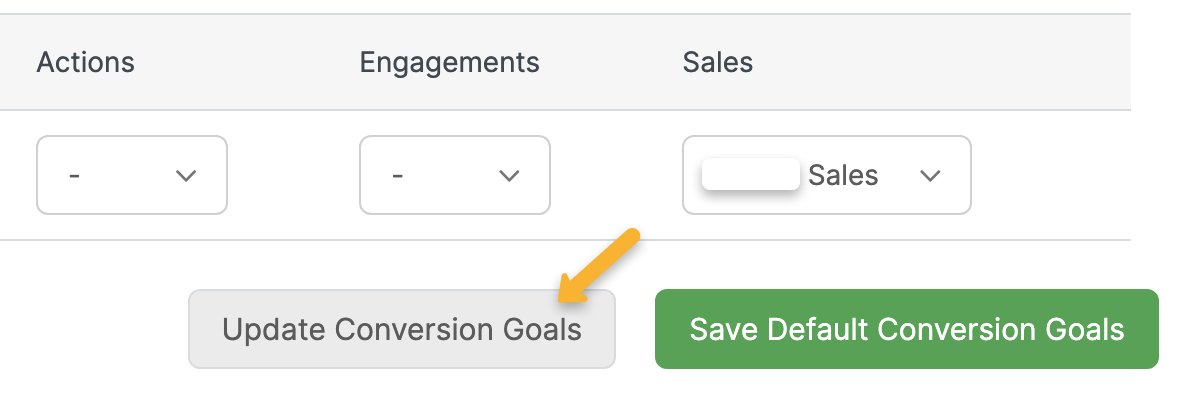
We find that most users generally want to optimize for sales, so if that's the case just select the Conversion Goal you want in the Sales column, hit Save, and that's all there is to it.
But know that you can also separately create and optimize for other things like Opt-Ins as well if you want. If you do, just select the appropriate Conversion Actions for ClickMagick Actions and/or Engagements as well.
The Default Conversion Goals allow you to specify a single Conversion Goal for each of Actions, Engagements, and Sales with a single Campaigns Project.
If you need to do something more advanced, you’ll want to set up Advanced Rules which you can learn about below:
How do I set up Advanced Rules for Audience Optimization?
Step 4 – Capture and Send Visitor Info with your Microsoft Conversions
ClickMagick can capture first-party data collected on your site and pass it to Microsoft Ads with your conversions to generate the absolute highest event match scores possible. This greatly increases Microsoft’s ability to attribute conversions correctly.
If you haven’t already, follow the steps in this article to allow ClickMagick to capture your visitors’ info:
How do I capture visitor info from forms on my site in ClickMagick?
Once you’ve done that, just enable Enhanced Conversions in Microsoft Ads by following these steps:
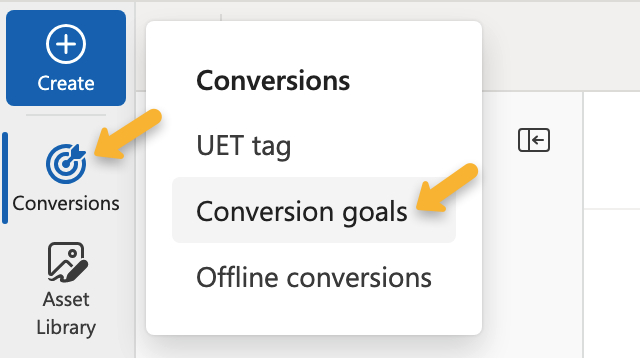
In your Microsoft Ads dashboard, click on “Conversions” and then “Conversion Goals”:
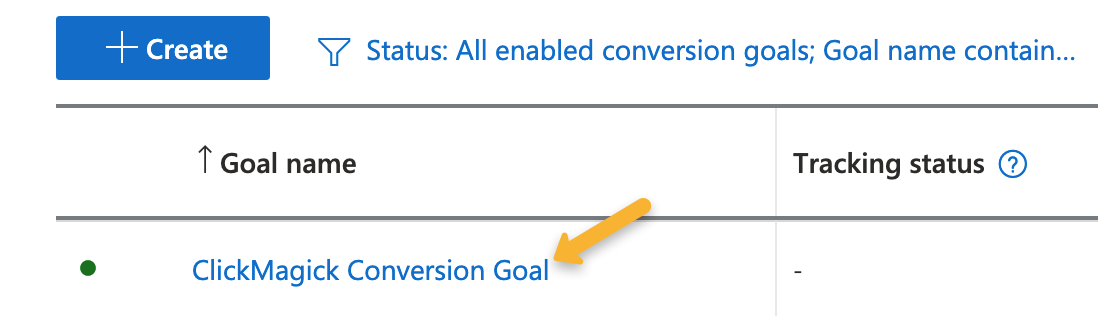
Next, click on the conversion goal you're using.
Keep clicking on “Next” until you reach the Enhanced Conversions page. Once you’re there, click on "Turn on Enhanced Conversions” and check the box to agree to the terms of use and privacy policy.
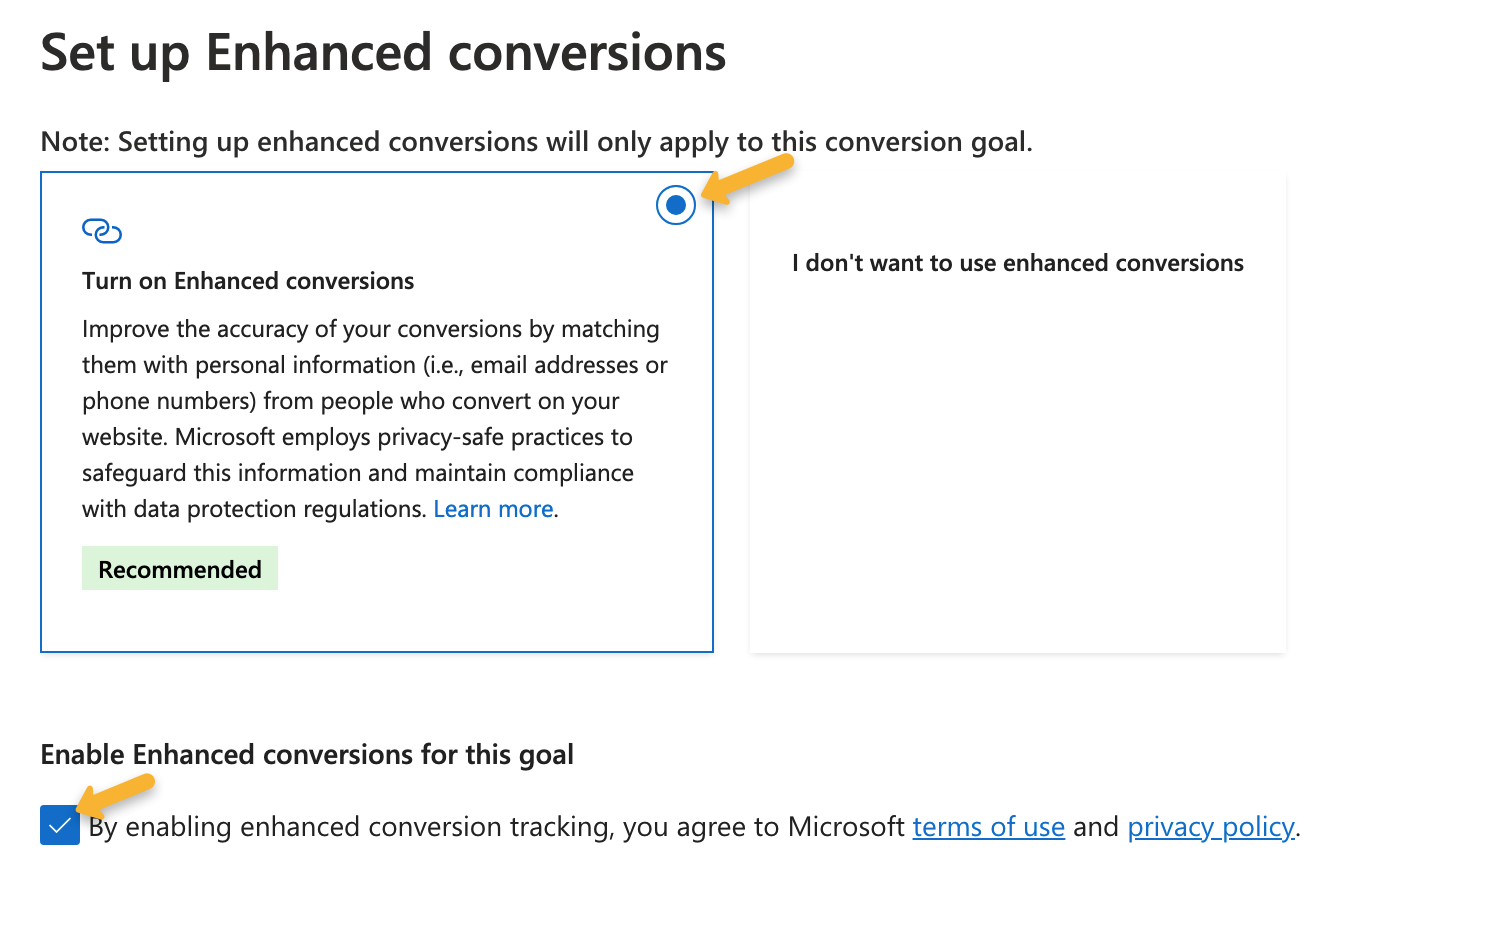
After that, just hit “Save and next”, then “Done”. That’s everything set up on the Microsoft side!
Finally, head over to Audience Optimization, found under the Tools menu in Campaigns.
Next, hit “Set Defaults” under the Microsoft Ads tab.
Finally, click on the “Update Conversion Goals” button to refresh the Microsoft Ads integration and enable support for enhanced conversions.
Once you've set this all up, ClickMagick will automatically capture visitor info from your website or online store, and send it along with your conversion data back to your Microsoft Ads account.
At this point you will literally get the best ad optimization that Microsoft Ads is capable of, and you can stop worrying about it. There isn’t another app or tool that can get you better Microsoft Ads optimization, at any price.
Article 928 Last updated: 05/25/2024 12:55:16 PM
https://www.clickmagick.com/kb/?article=928