|
How do I track Kajabi sales in ClickMagick?
Caution: Kajabi doesn’t allow you to add tracking code to your order confirmation page, so sales cannot be tracked using the normal tracking code. Because of this limitation, you can only track sales using Zapier, which is explained below.
Here’s how to set up tracking with Kajabi …
Step 1 – Add the Click Tracking Code to your Landing Page
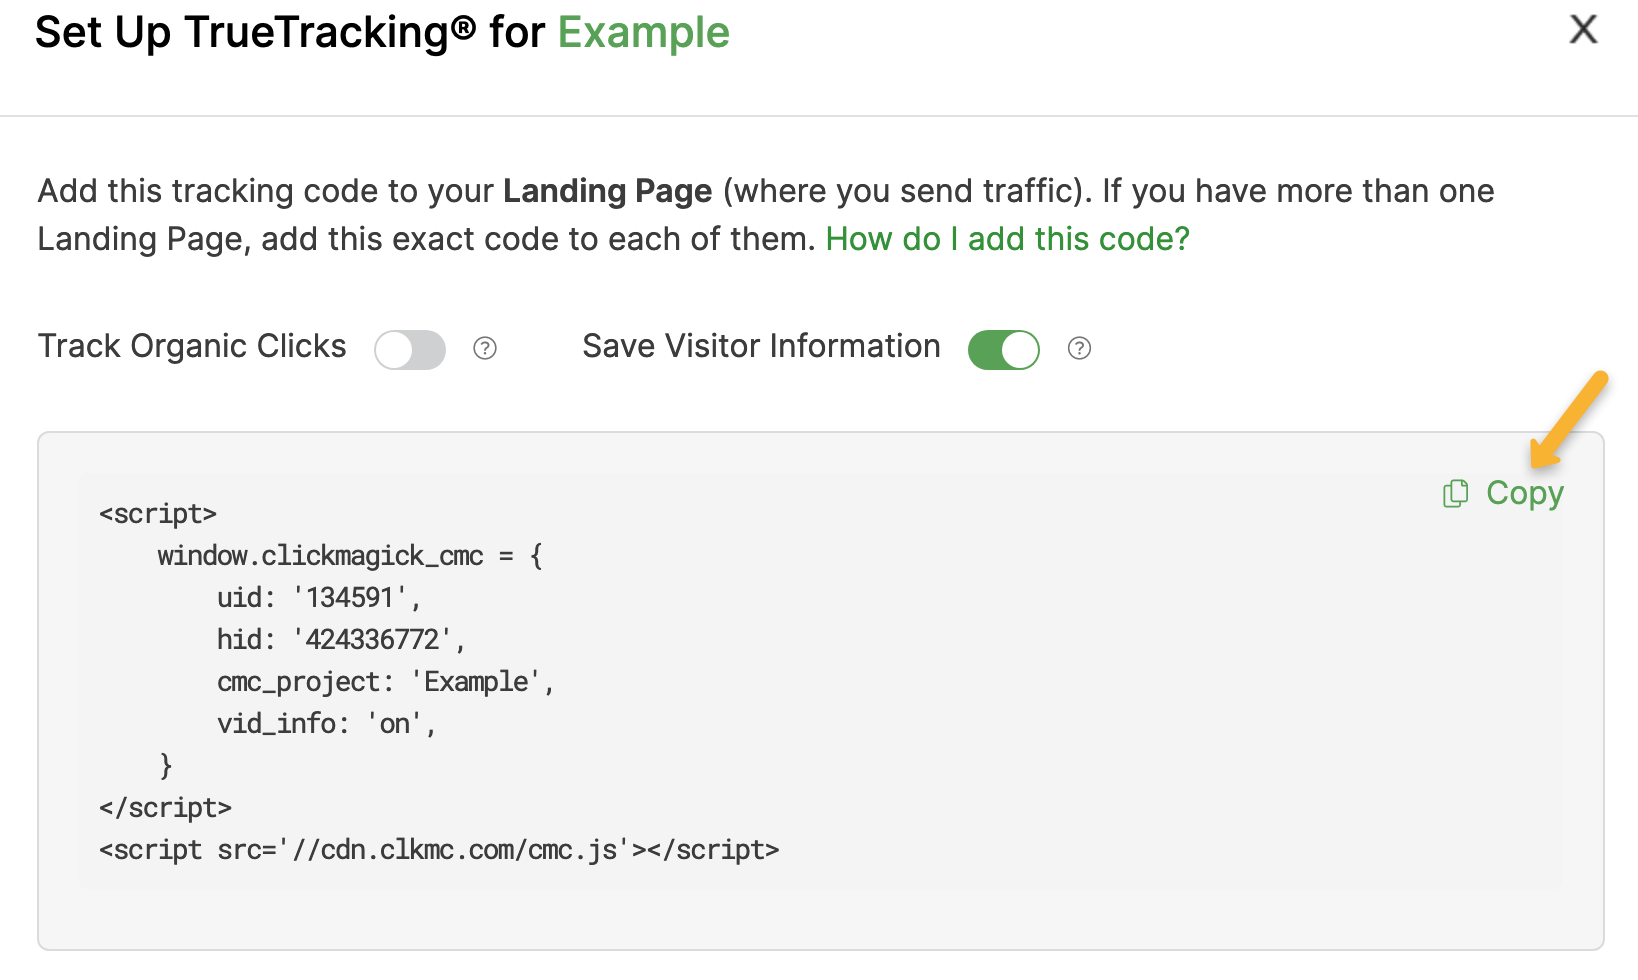
In ClickMagick, head over to Campaigns > Tools > Website Code Tool and choose “Website Code Wizard”. Copy the code shown in the first step.
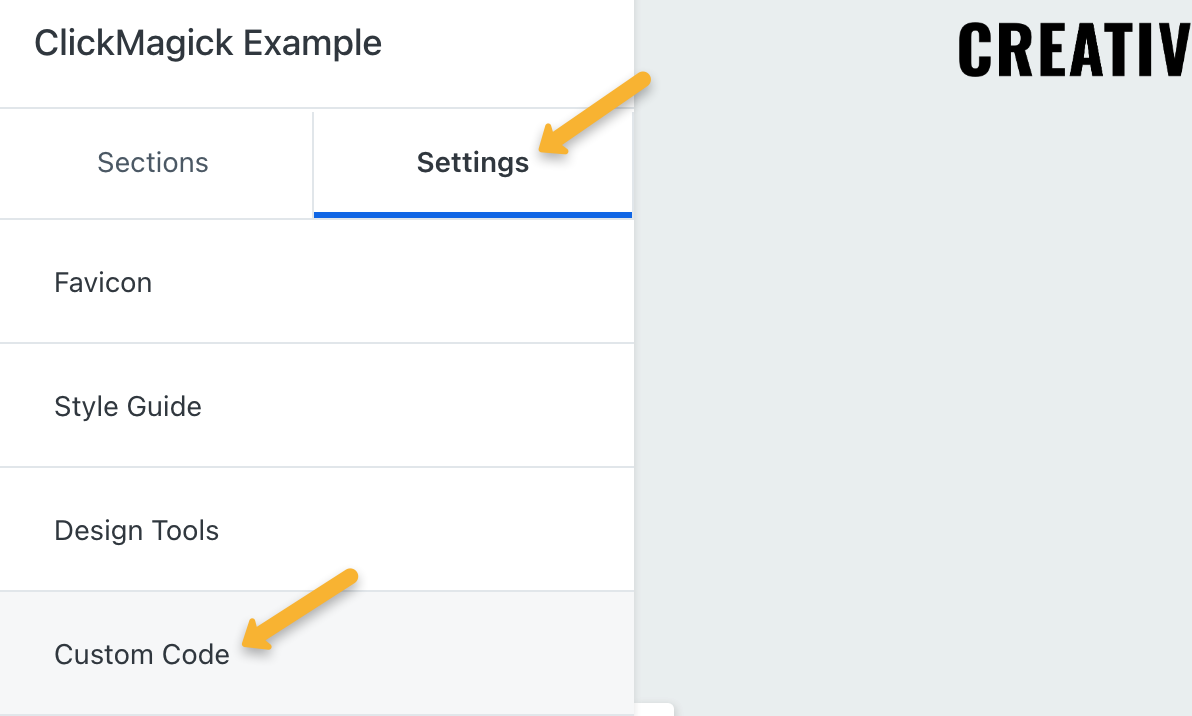
In Kajabi, edit your landing page and go to “Settings”, then “Custom Code”.
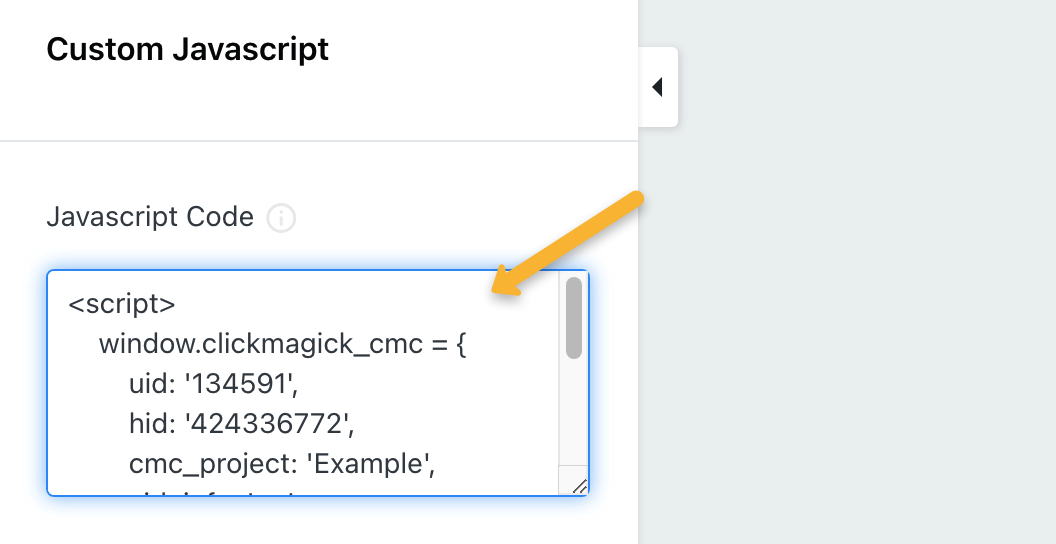
Paste the Click Tracking Code into the “JavaScript Code” box.
Step 2 – Add the Action Conversion Code to your Opt-in Thank You Page (optional)
If you have an opt-in step in your funnel, complete this step. If not, move on to Step 3.
In ClickMagick, continue to the next step of the Website Code Wizard. Copy the Action Conversion Code.
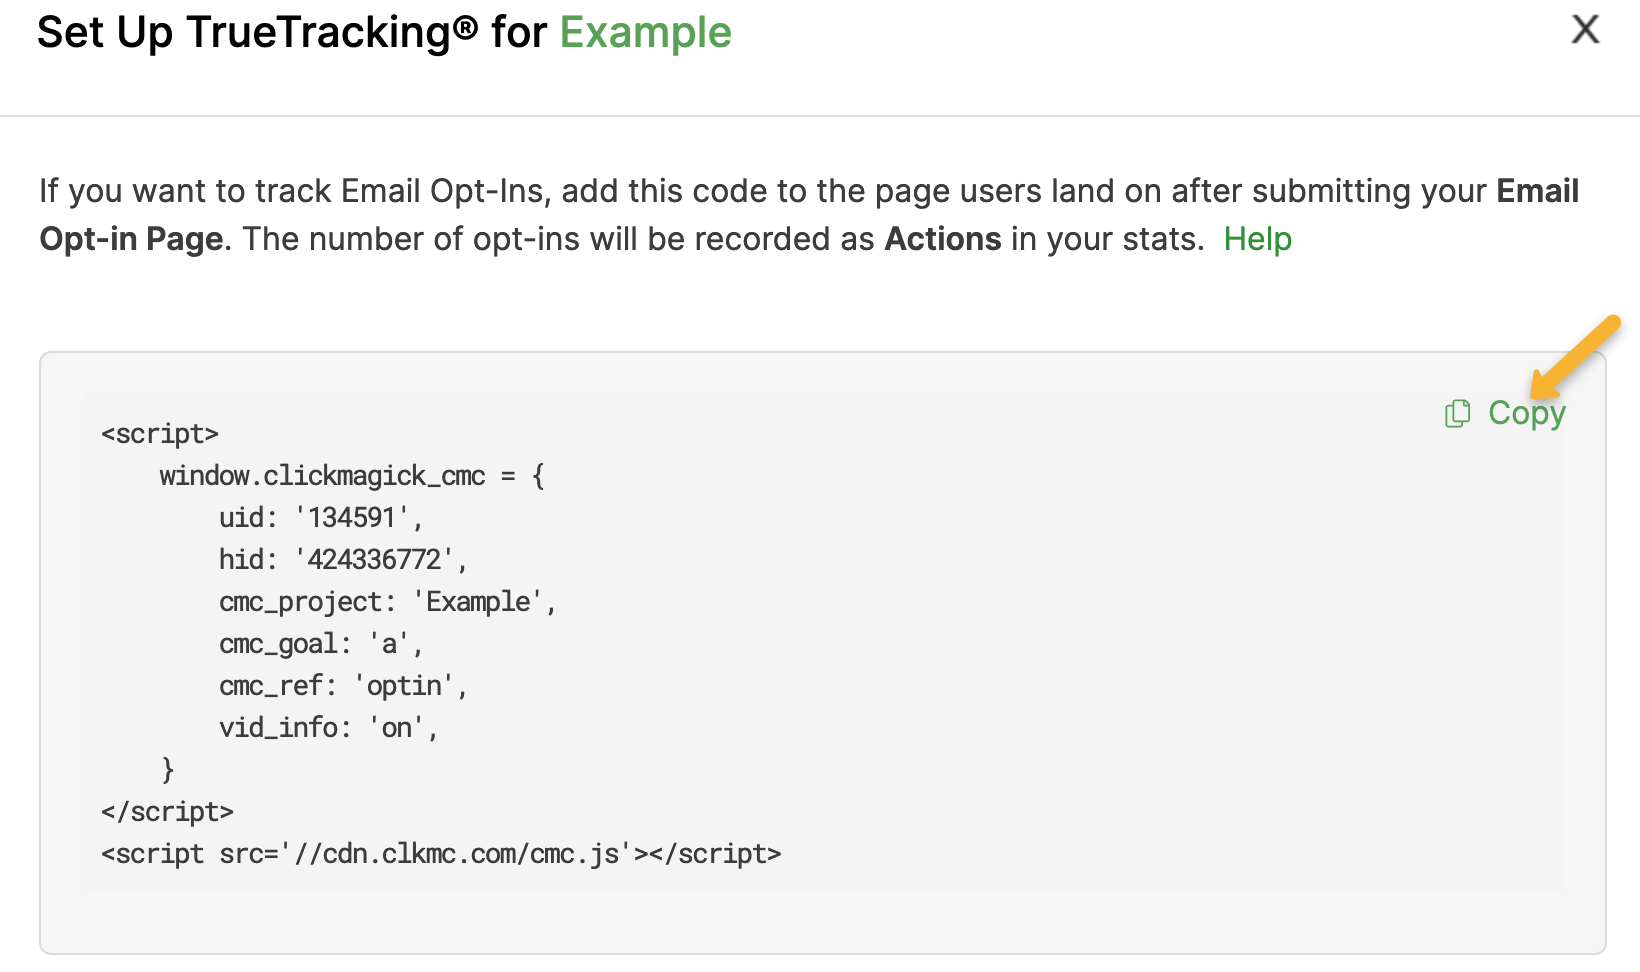
In Kajabi, edit your opt-in thank you page and paste the Action Conversion Code into the “JavaScript Code” box (the same place shown in Step 1).
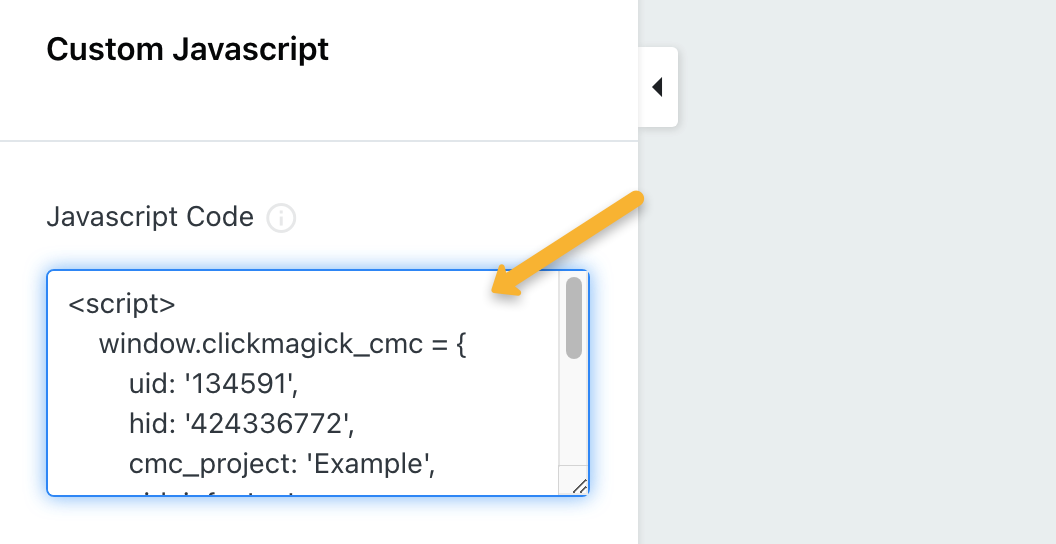
This will track people who reach your opt-in thank you page as an Action in ClickMagick. It also collects their email address and other personal information to add to their Visitor Profile.
Step 3 – Add the Engagement Conversion Code to your Checkout Page
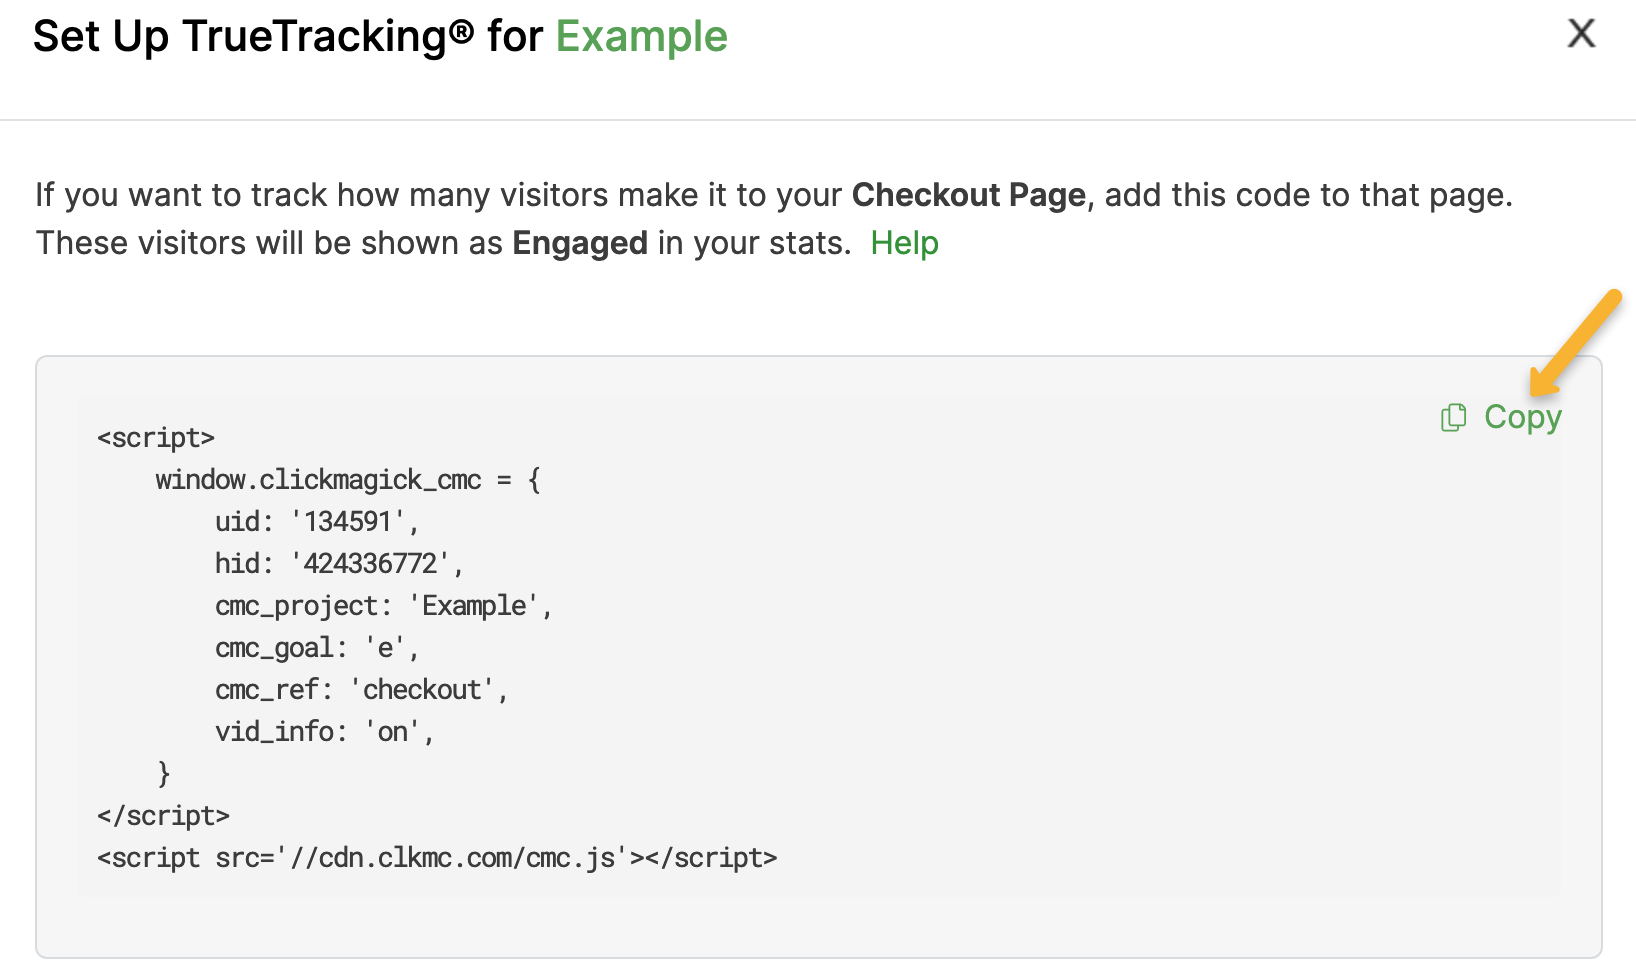
In ClickMagick, continue to the next step of the Website Code Wizard. Copy the Engagement Conversion Code.
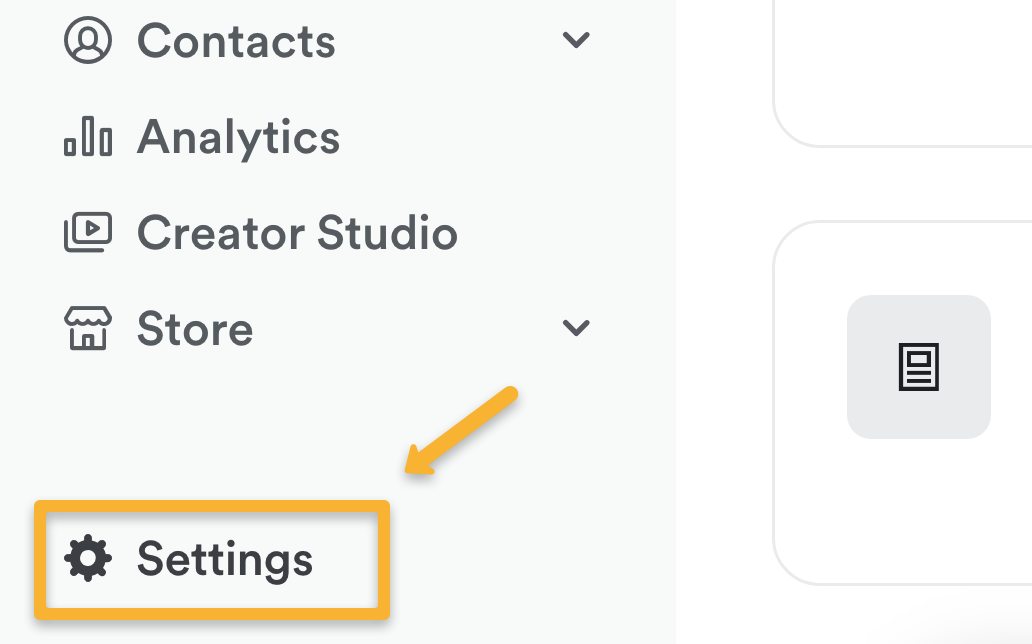
In Kajabi, go to “Settings”.
Next, click on “Checkout Settings”.

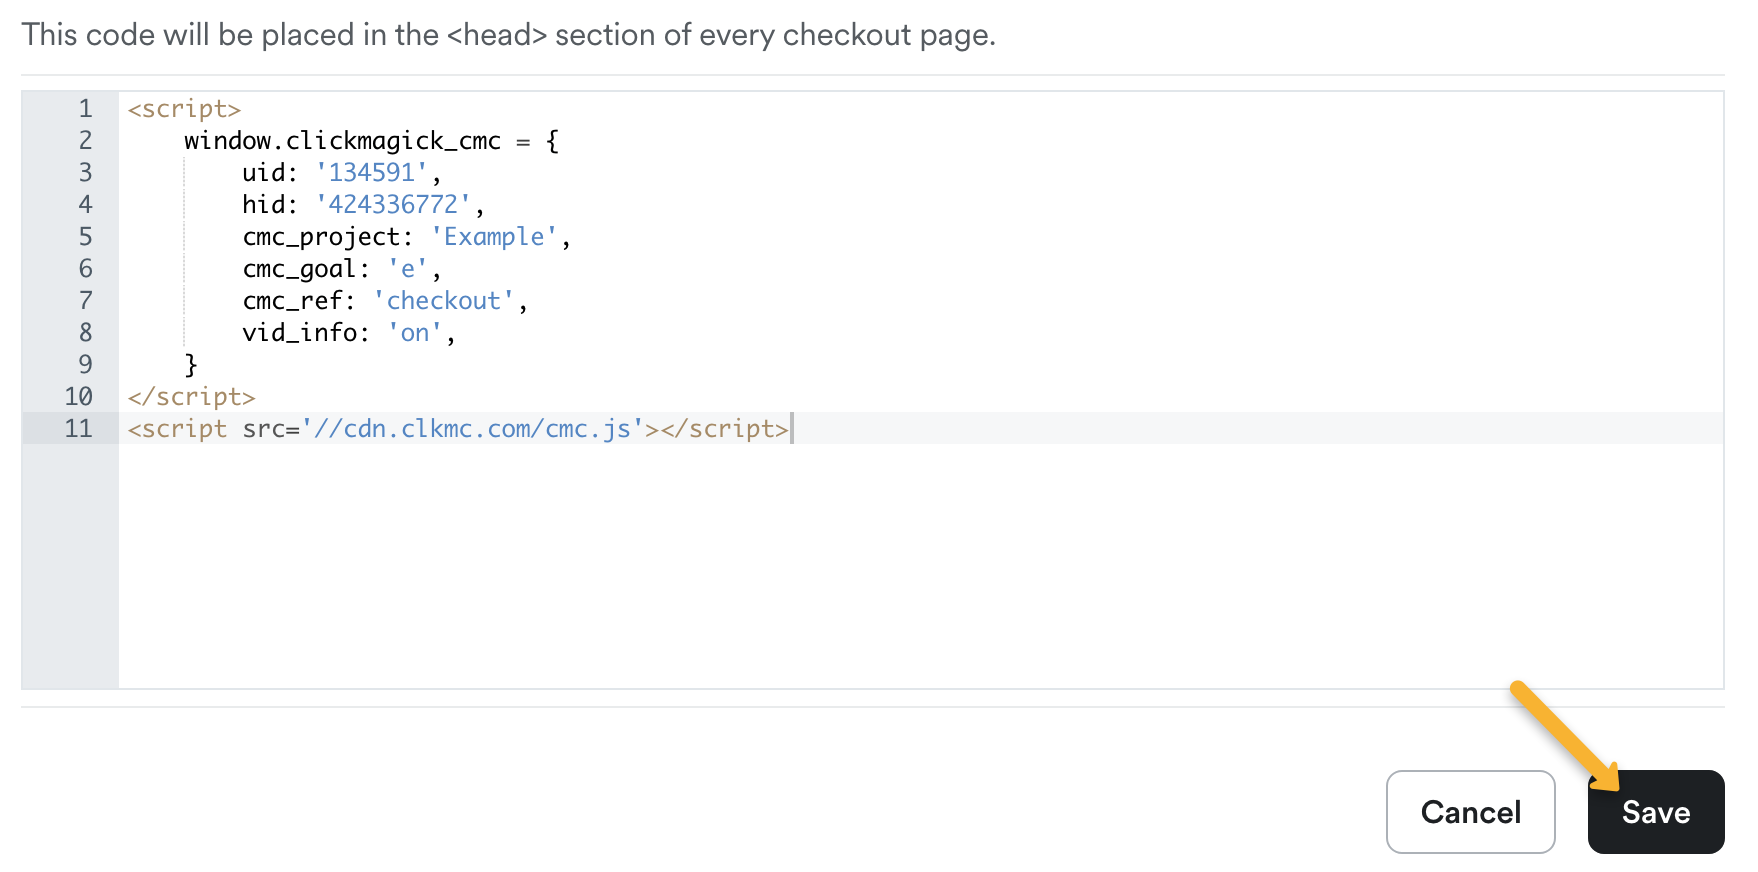
Click on “Add header tracking code”.
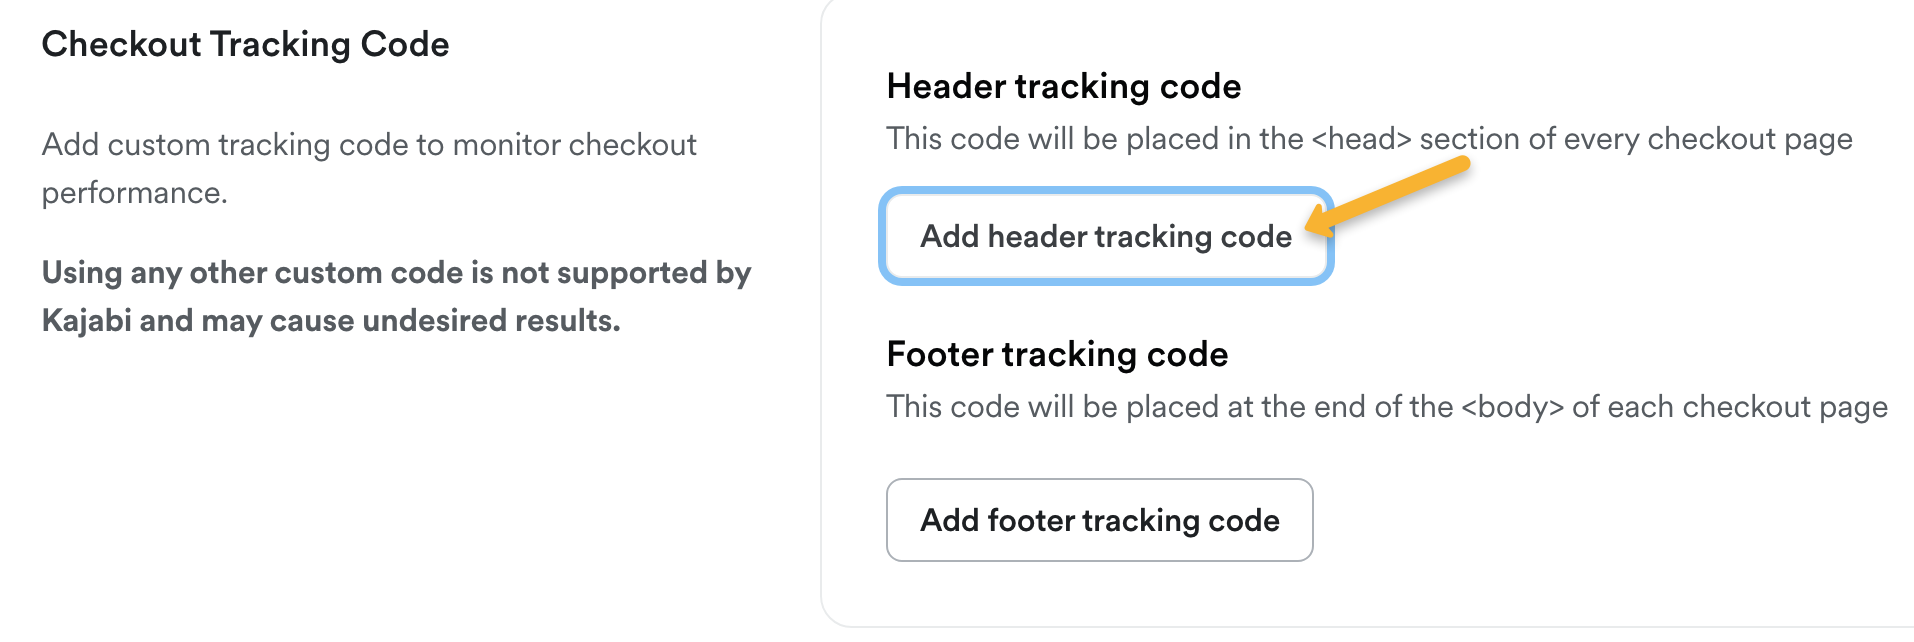
Paste in the Engagement Conversion Code and hit “Save”.
Step 4 – Set up Sales Tracking via Zapier
Create an account with Zapier, or log in to your Zapier account. Then, create a new Zap.
In your new Zap, set the trigger to Kajabi and set the Event to “New Purchase”.
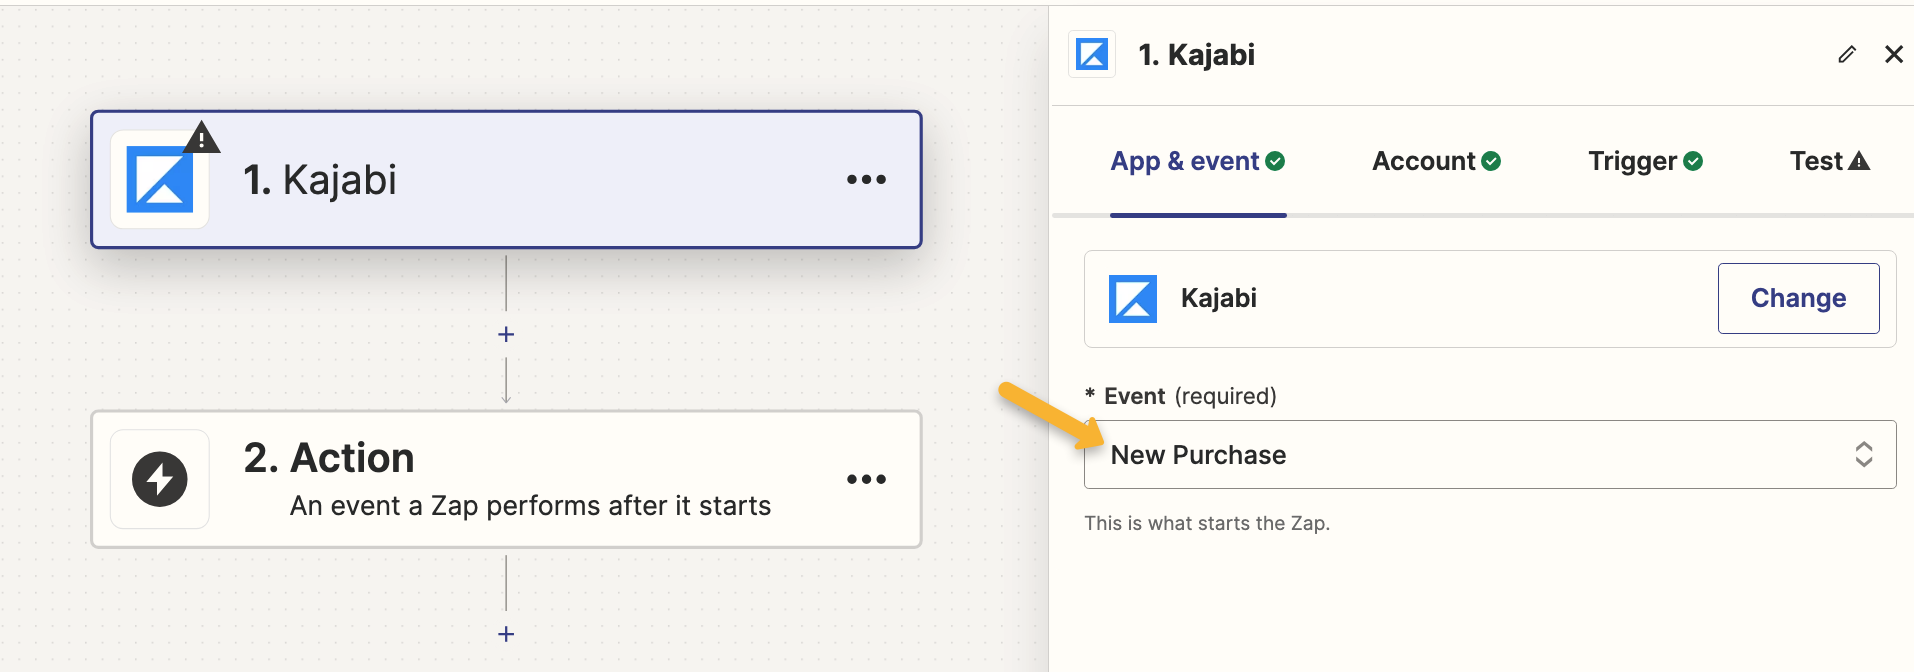
Next, follow the Zapier prompts to connect your Kajabi account to Zapier, and select the site and offer you want to track as the “Trigger”. Complete the test step if you have sales in your Kajabi account. If not, choose “Skip Test”.
After that, click on box number two, search for “Webhooks by Zapier” and set the Event to “GET”.
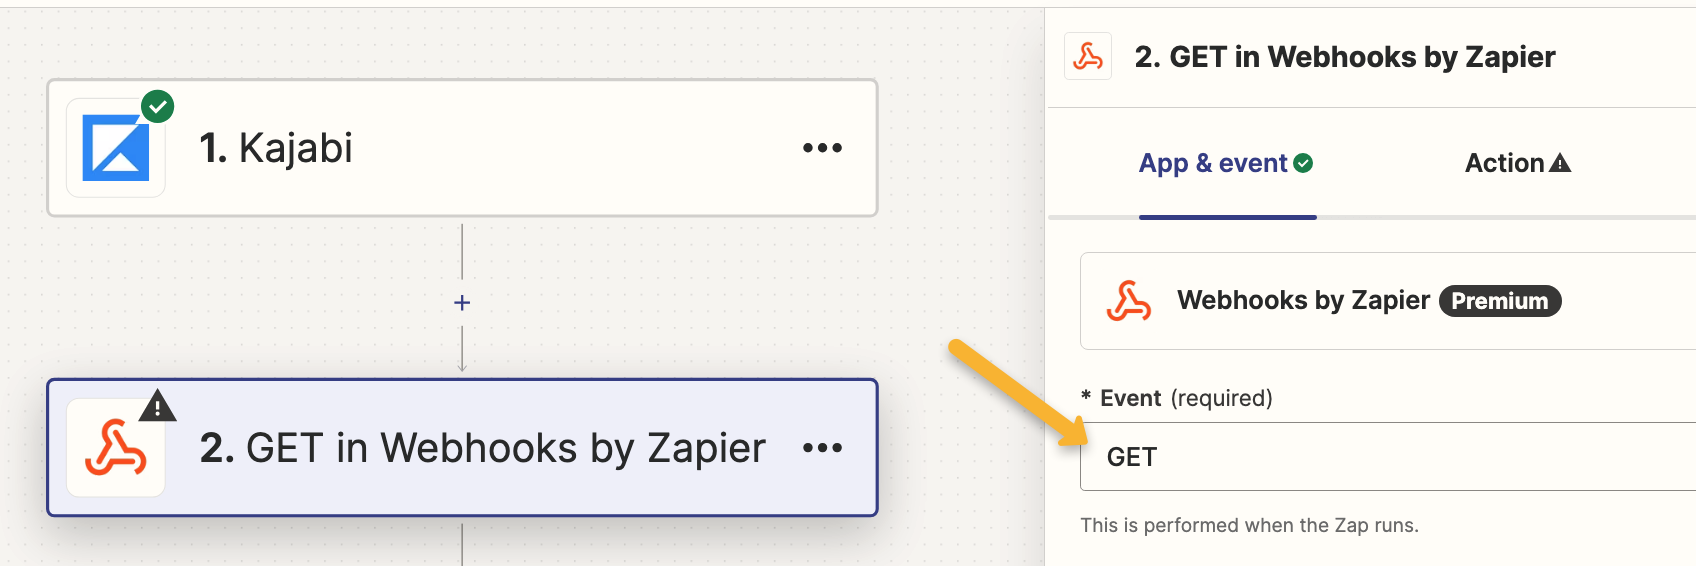
On the “Action” tab, paste in the following as your URL:
https://www.clkmg.com/api/s/post/?uid=[USERID]Next, under “Query String Params”, enter
s1 in the first box. Search for “Member Email” in the second box and add it.Click the add button to add another Query String Param, then enter
amt in the first box. Search for “Transaction Amount Paid” in the second box and add it.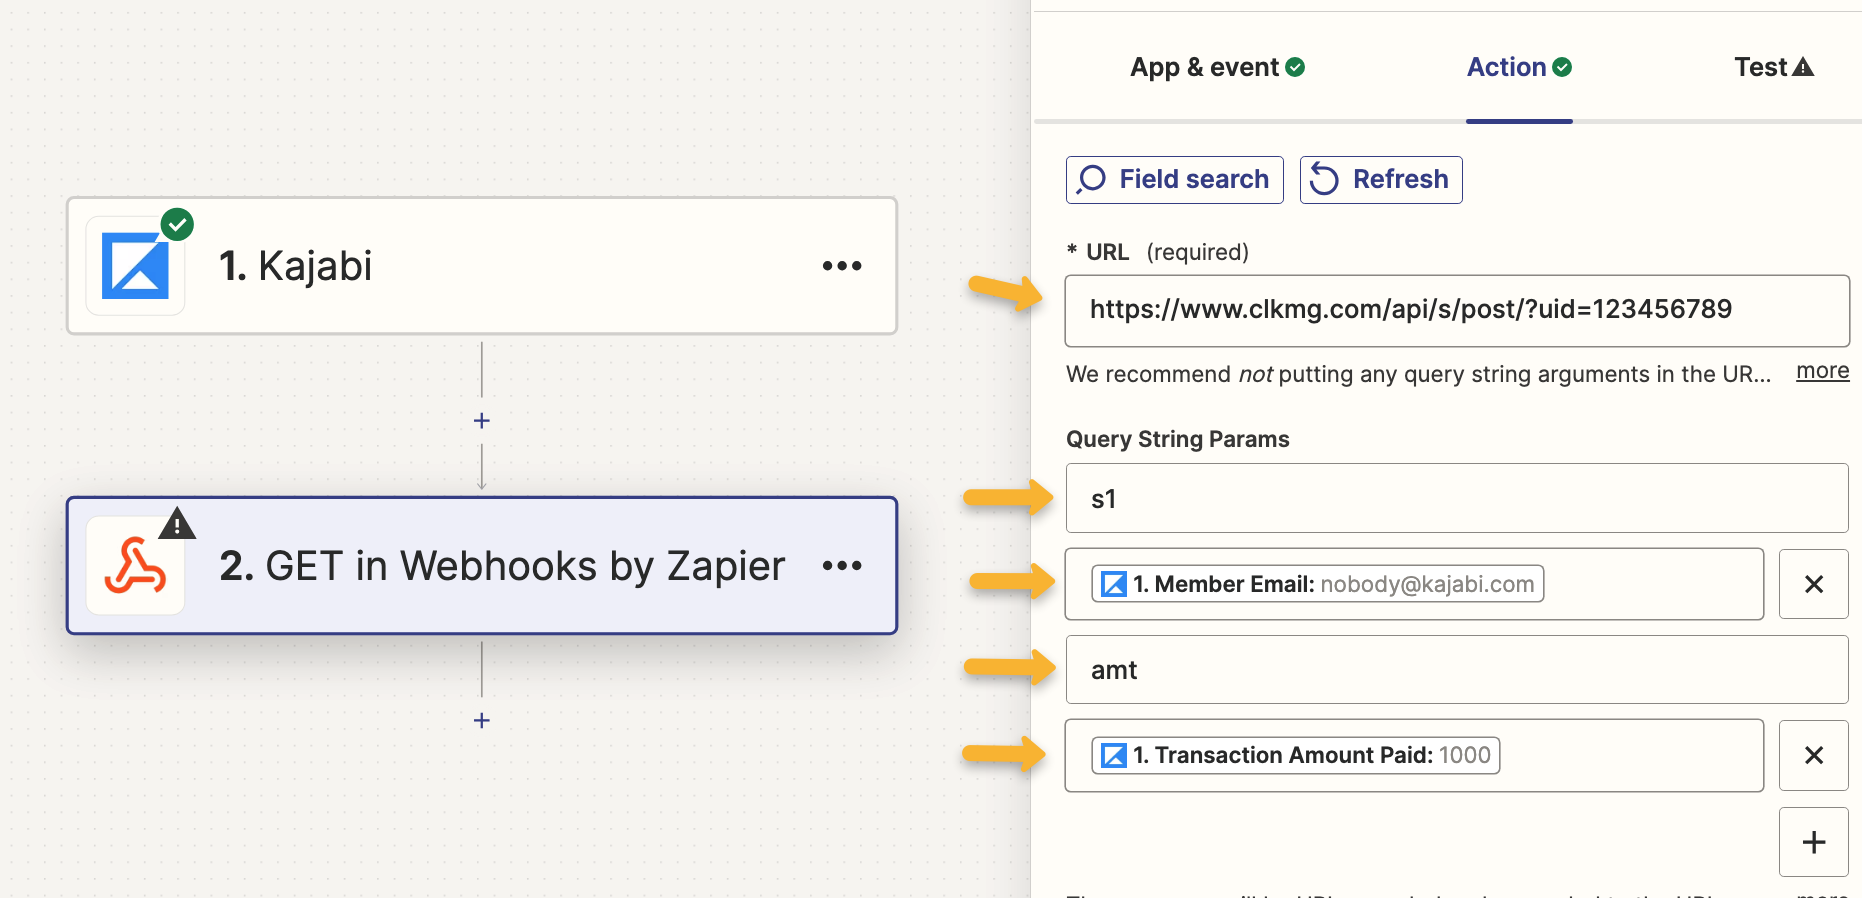
Click “Continue”, complete the test and publish your zap.
That’s it! Your Kajabi opt-ins will show in ClickMagick as “Actions”, checkout hits will show as “Engagements” and sales will be tracked with accurate revenue using Zapier.
Article 920 Last updated: 05/20/2024 3:11:00 PM
https://www.clickmagick.com/kb/?article=920