|
How do I add tracking pixels or JavaScript code to Square Space?
To begin tracking sales when using Square Space, just follow the steps below…
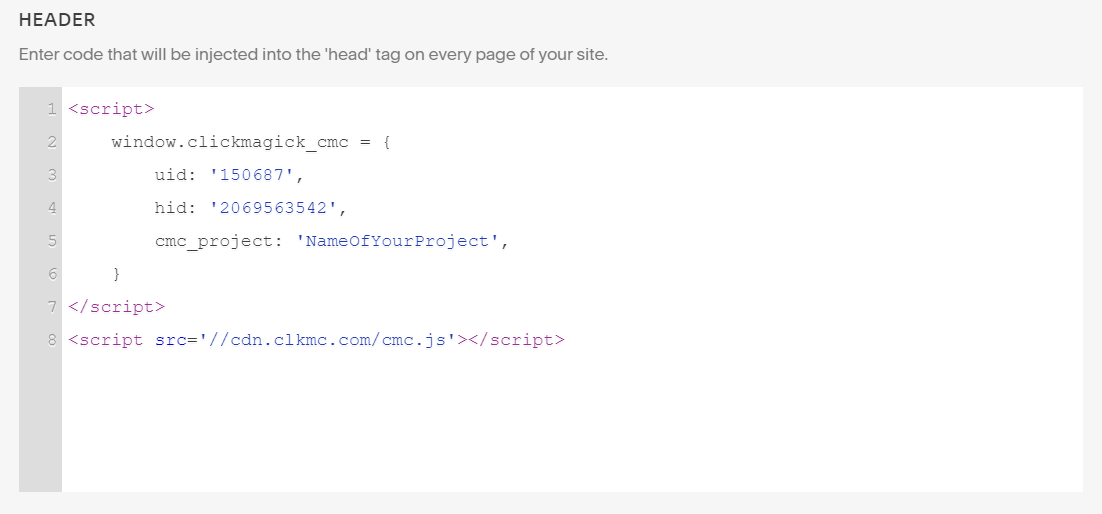
Step 1 - Add your Click Tracking Code
Copy your click tracking code below:
<script>

    window.clickmagick_cmc = {

        uid: '[USERID]',

        hid: '[HID]',

        cmc_project: 'NameOfYourProject',

    }

</script>

<script src='//cdn.clkmc.com/cmc.js'></script>
Be sure to change
'NameOfYourProject' to have the actual name of your project between the quotation marks.Inside Square Space click on "Settings" then "Advanced" and from the Advanced Menu click on the "Code Injection" option.
Under "Header" add your Click Tracking Code:

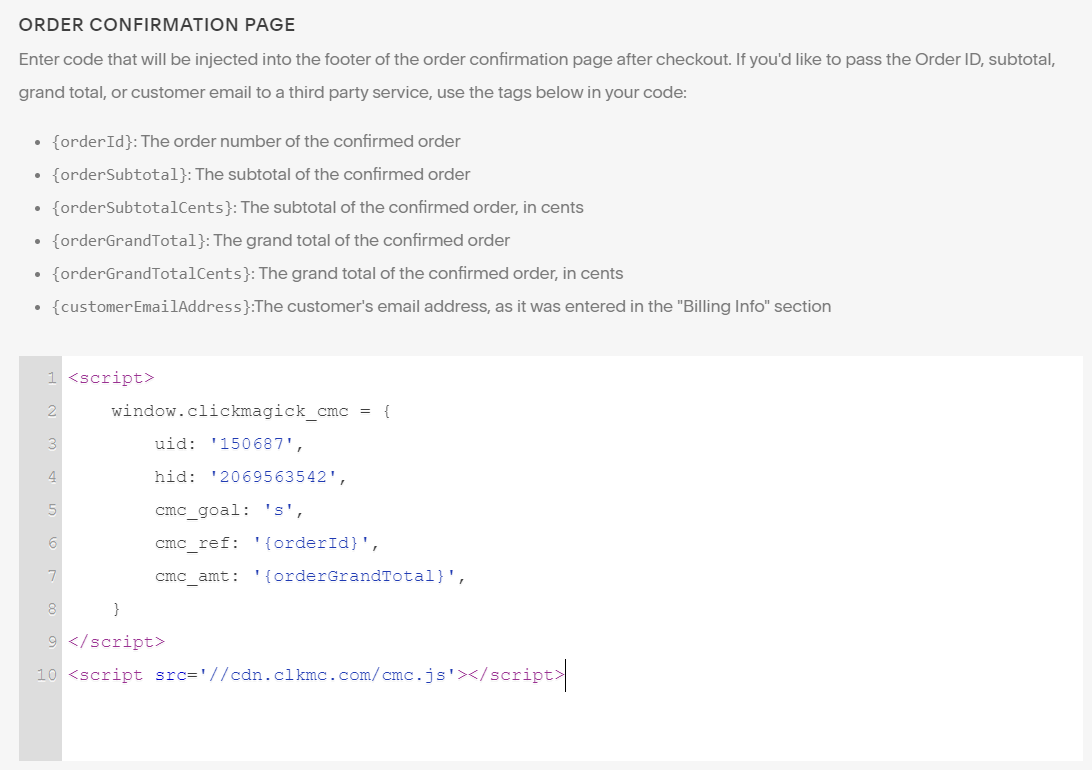
Step 2 - Add Your Sales Conversion Code
Copy your sales conversion code below:
<script>

    window.clickmagick_cmc = {

        uid: '[USERID]',

        hid: '[HID]',

        cmc_goal: 's',

        cmc_ref: '{orderId}',

        cmc_amt: '{orderGrandTotal}',

    }

</script>

<script src='//cdn.clkmc.com/cmc.js'></script>
And from the "Code Injection" section inside of Square Space, scroll down until you see the "Order Confirmation Page" section.

Once that is done, save your changes.
And that's it! With the above setup you can now track your Square Space sales using ClickMagick Campaigns.
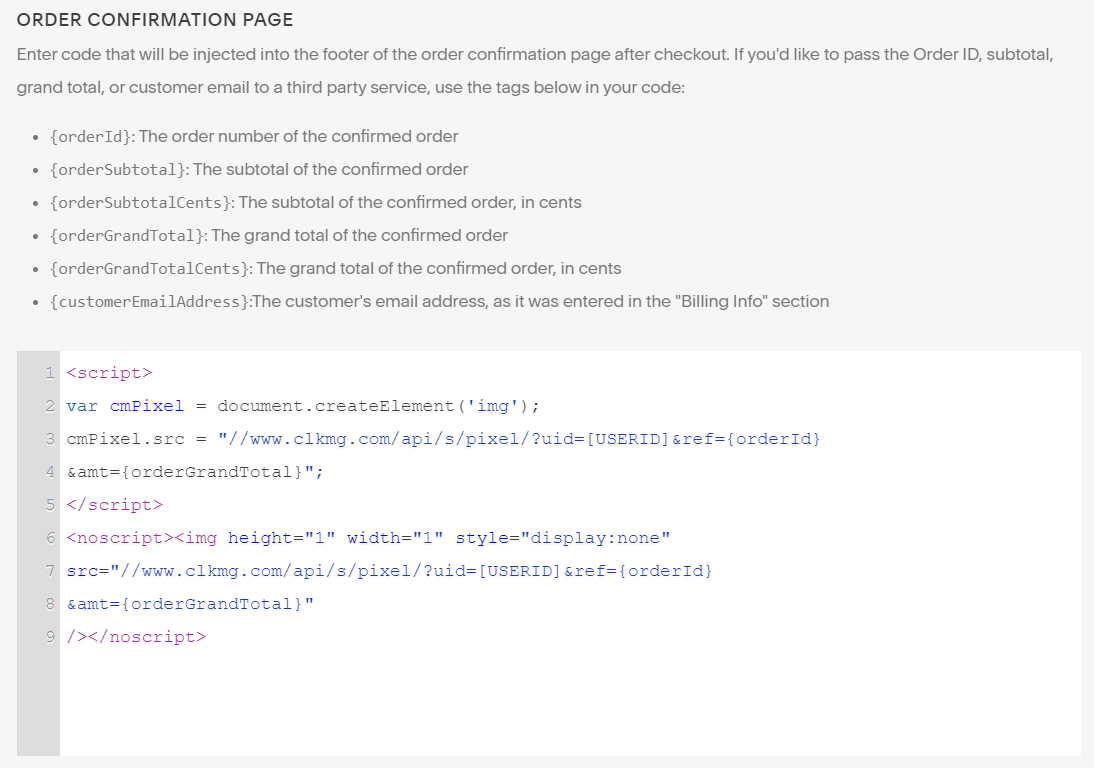
Adding Your Sales Pixel
Copy your Sales Pixel below:
<script>

var cmPixel = document.createElement('img');

cmPixel.src = "//www.clkmg.com/api/s/pixel/?uid=[USERID]&ref={orderId}

&amt={orderGrandTotal}";

</script>

<noscript><img height="1" width="1" style="display:none"

src="//www.clkmg.com/api/s/pixel/?uid=[USERID]&ref={orderId}

&amt={orderGrandTotal}"

/></noscript>
Next inside Square Space, just click on "Settings" then "Advanced" and from the Advanced Menu click on the "Code Injection" option.
Scroll down until you see the "Order Confirmation Page" section and add your sales pixel:

That’s it! Just create a tracking link for your Square Space site, and sales will be automatically tracked using Tracking Links.
Article 728 Last updated: 04/07/2023 7:56:29 PM
https://www.clickmagick.com/kb/?article=728