|
How can I view the history for a particular visitor or IP?
There are several ways you can view the history of a particular user.
Use the tabs below to see the steps to do this.
There are two ways to use the Campaigns Visitor Profile Tool. The first, and easiest way is to go to your Campaigns dashboard and click the log icon under Visitors, Actions, Engagements, or Sales to view the log for each event.

Click on any of the Visitor IDs in the log:
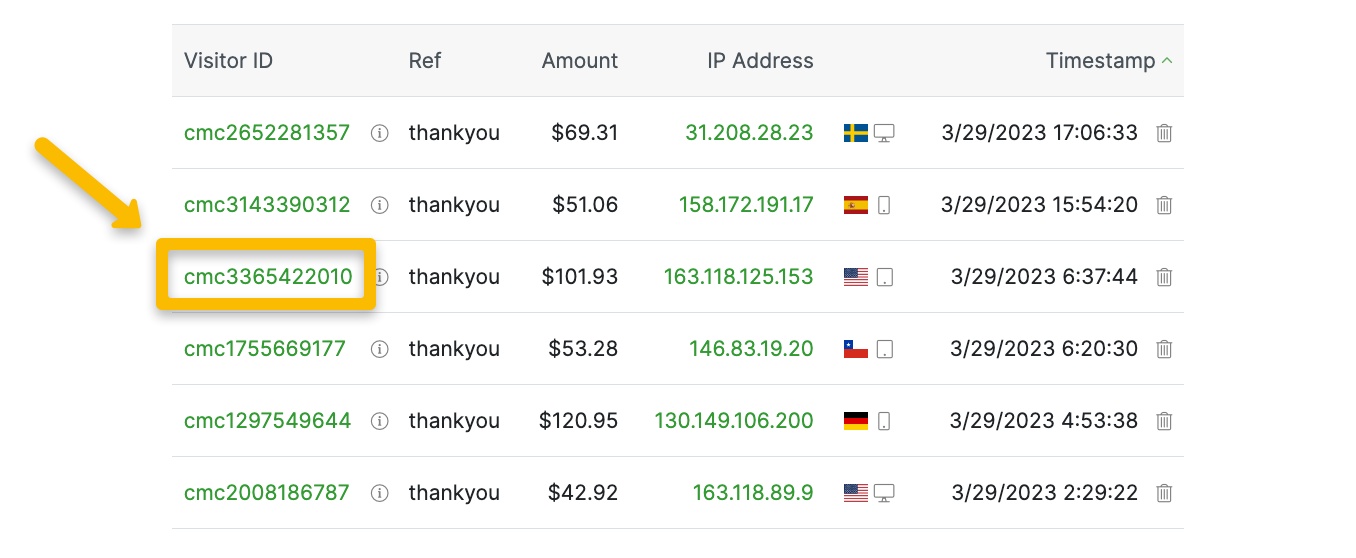
Now you can see the full visitor profile for that visitor.
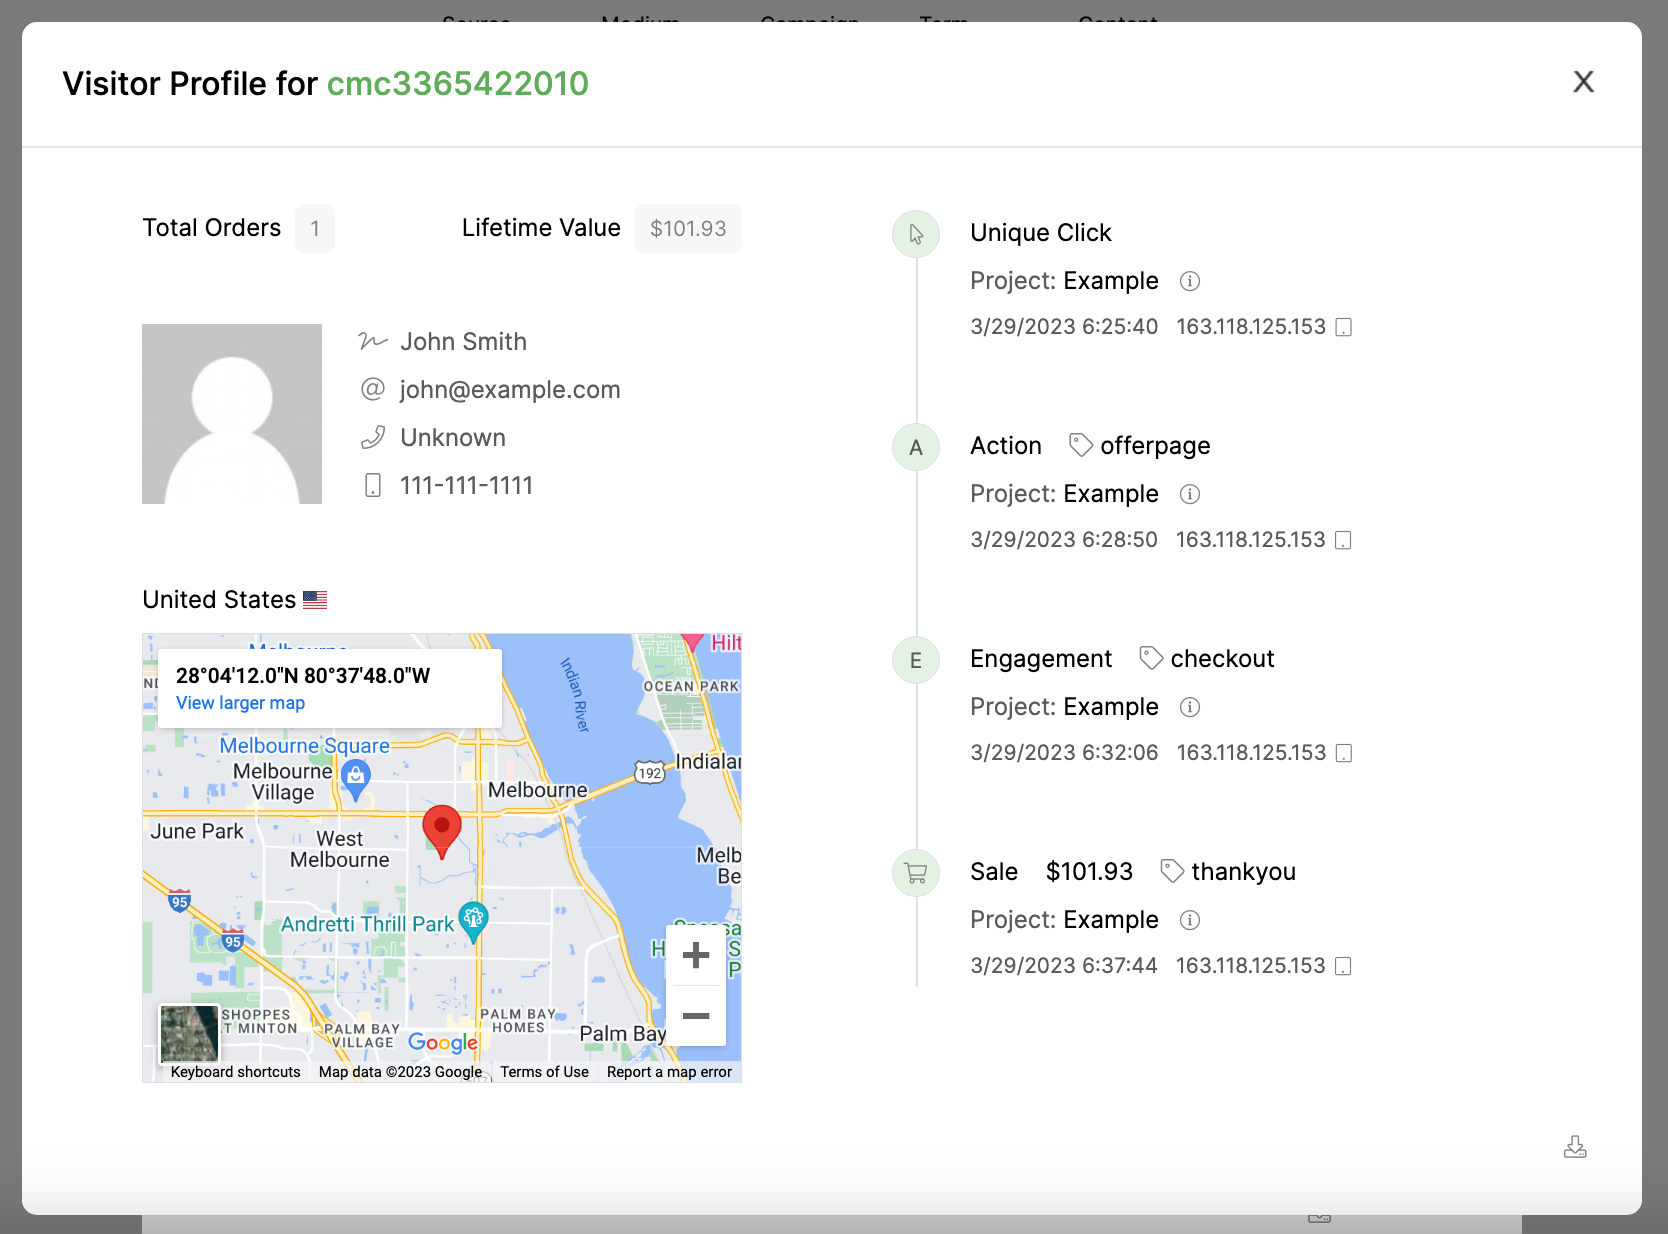
If you want to see more details on which UTM parameters each event came from, you can hover over the icon.
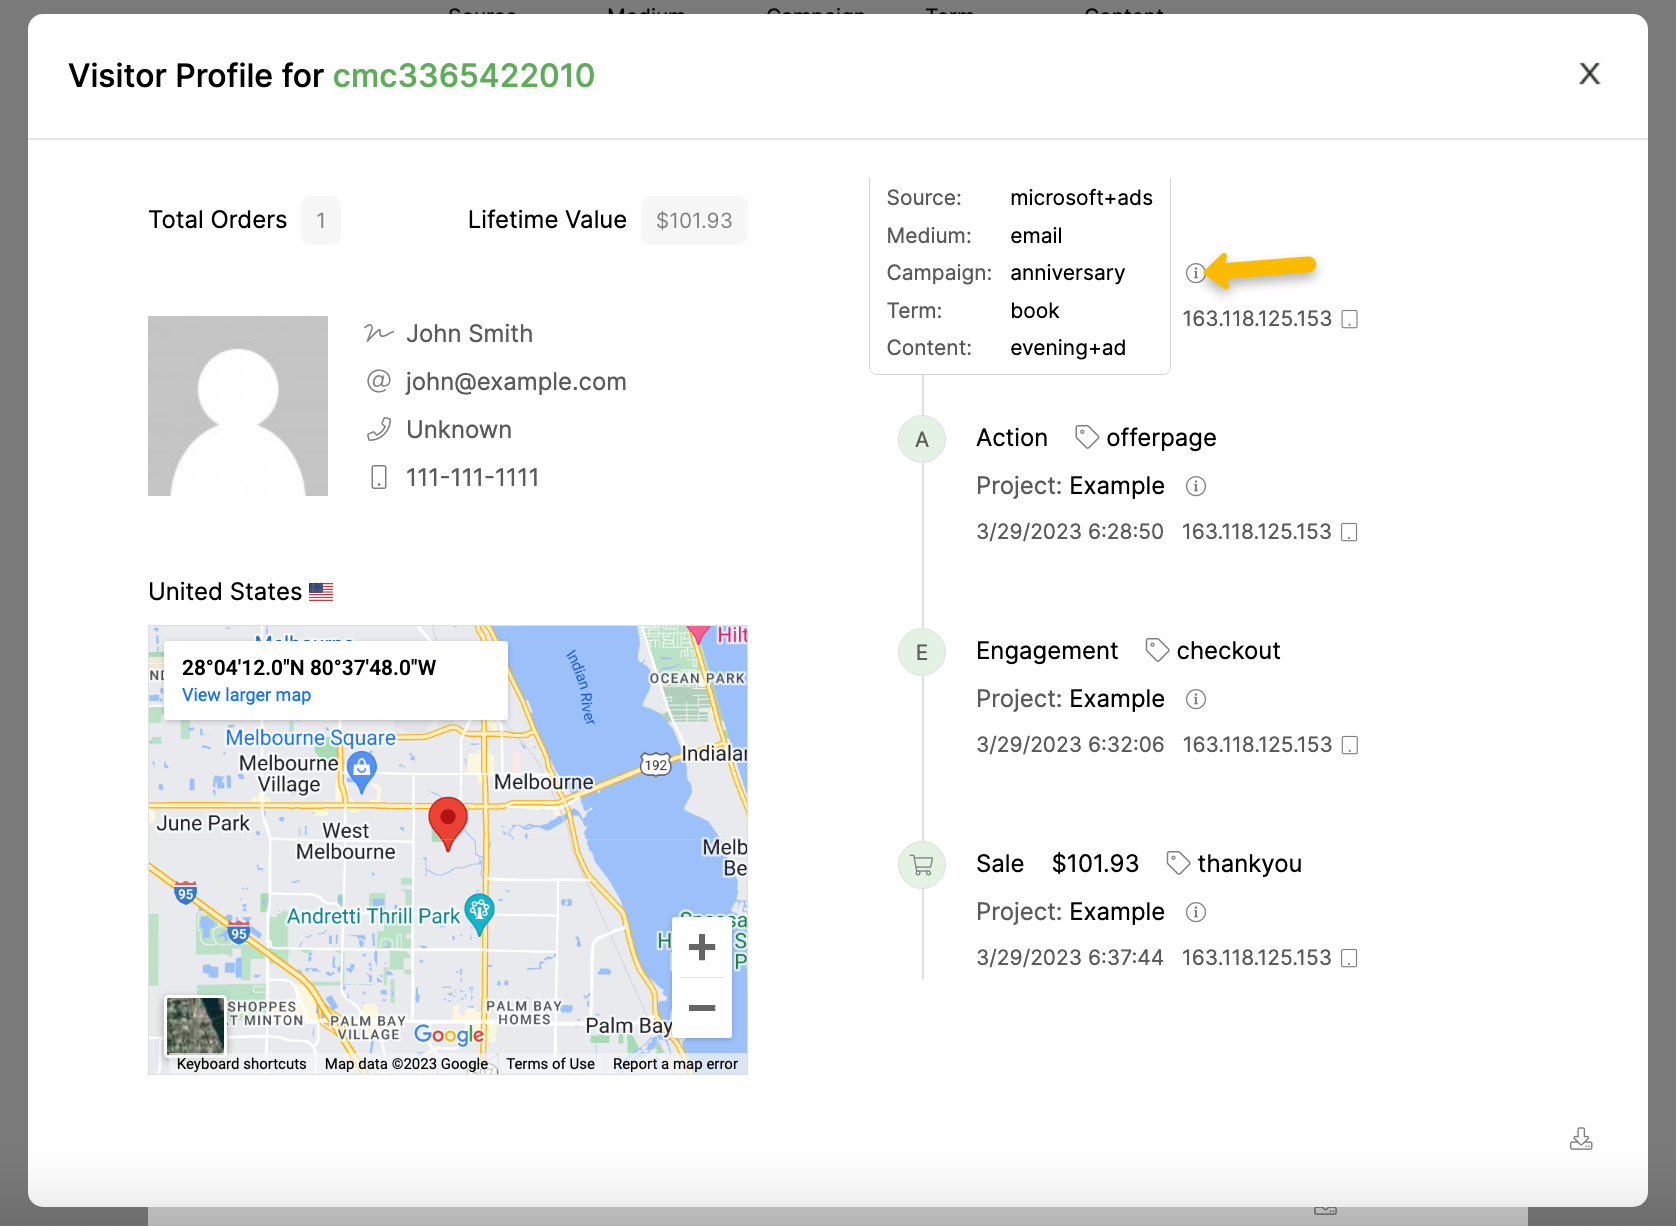
If you want to look up a visitor ID manually, you can go to the Campaigns Tools menu, then choose “Visitor Profile”. From there, you can enter the visitor ID and hit “View Visitor Profile” to see the full profile for that visitor.
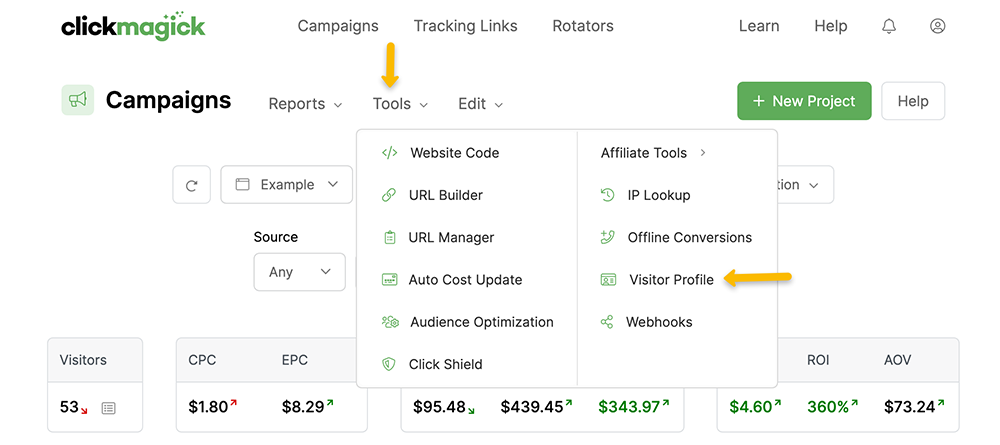
In Campaigns, click on the Tools menu and choose “IP Lookup”.

Search by Click ID, IP Address, or Campaign Visitor ID in the IP Lookup tool.
Now you can see the IP history of that particular visitor—clicks, actions, sales, etc.—in chronological order.
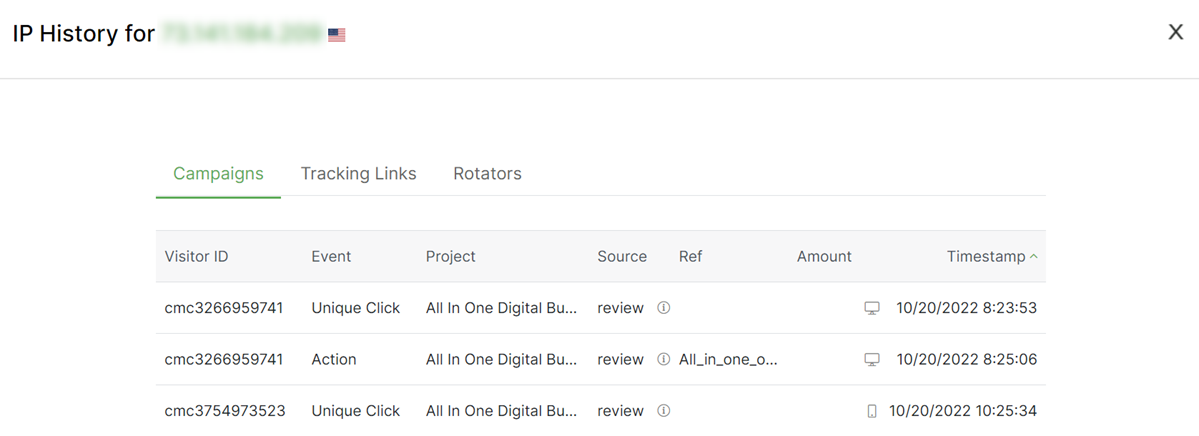
You can also lookup IPs quickly from your Campaigns dashboard by clicking on the log icon under Visitors, Actions, Engagements, or Sales to view the log for each event.

From there, you can click on any of the IP addresses shown in the log.
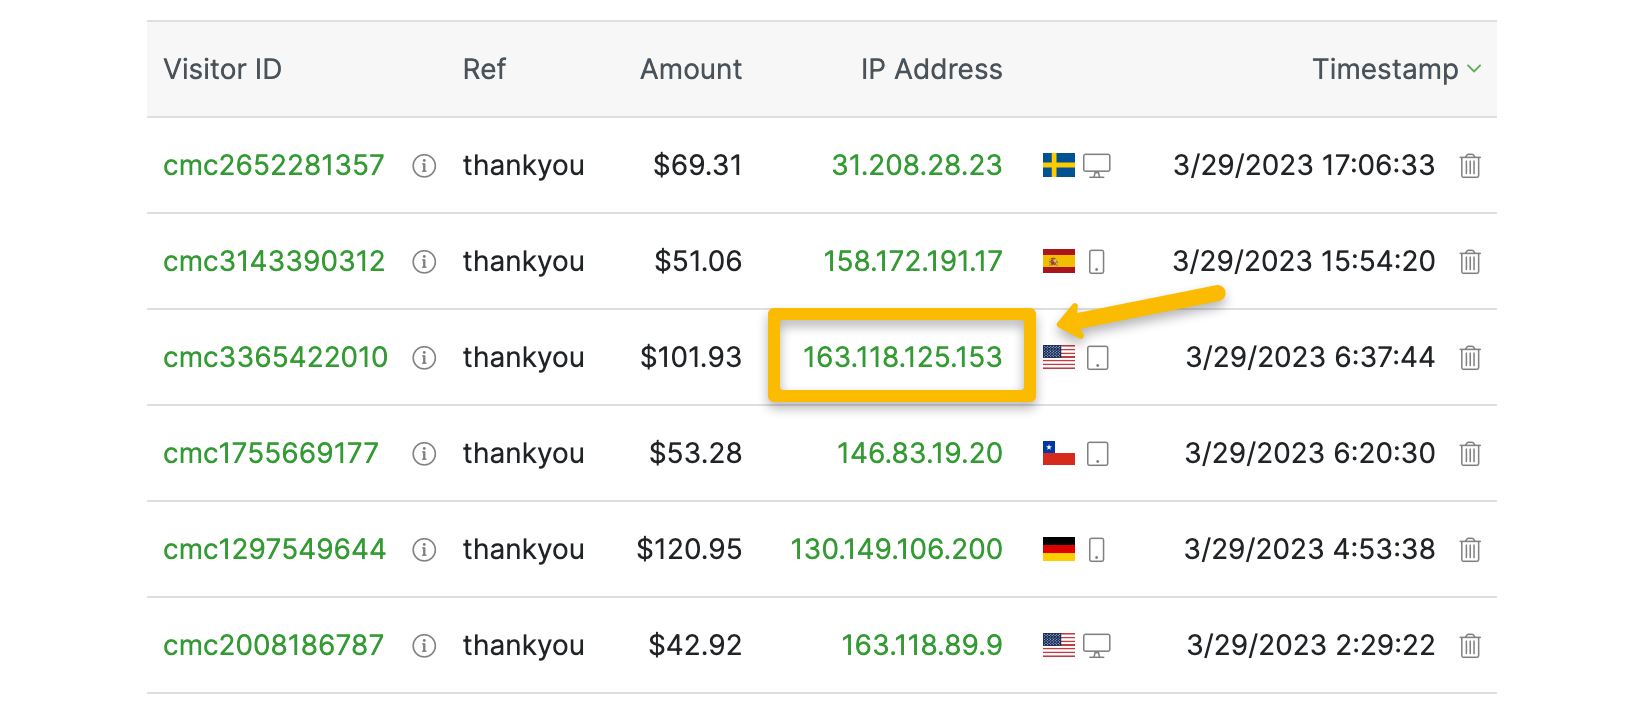
Now you’ll be able to see the full history for that IP address.
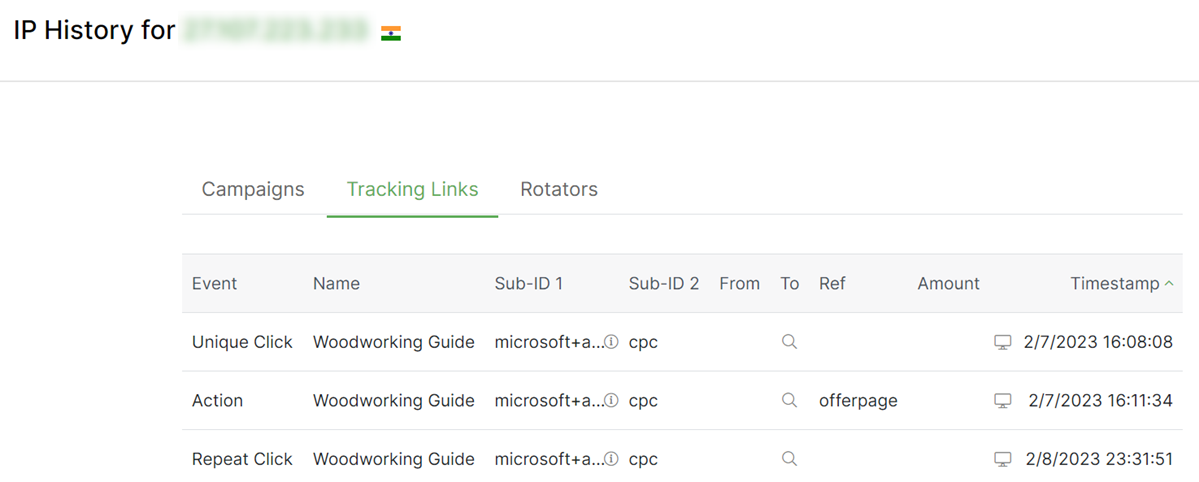
Click on the TC or UC value in the Tracking Link or Rotator.

Click on one of the IP addresses that you see in the list.

Now you can see the IP history of that particular visitor—clicks, actions, sales, etc.—in chronological order.
Article 65 Last updated: 03/30/2023 10:38:56 AM
https://www.clickmagick.com/kb/?article=65